


Table of Contents:
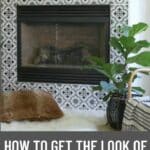
Learn how to stencil, step-by-step directions, Easy budget-friendly DIY Project to transform your home
Easily transform your fireplace surround. This project works equally well to on tile, laminate, or concrete flooring.
Stencil: My Latest DIY Project
Are you ready to hear about my latest DIY project? Honestly, it may be my favorite ever. This is the story of how I totally transformed the look of my fireplace on a tiny budget. I used paint and a stencil to get the look of real tile for a fraction of the cost. With no previous experience, no special talents, and armed with a stencil and a couple cans of paint I still can’t believe the outcome. This project far exceeded my expectations. (Insert happy dancing!)
Additionally, I’m more convinced than ever that this is a great option for anyone who has a fireplace surround or any surface that they aren’t in love with. If you’re looking for a wow of a makeover for a small price tag you’re going to love this option. It’s so easy, versatile, and best of all budget-friendly.
This post contains Amazon Affiliate links. Be sure to read the full disclosure.
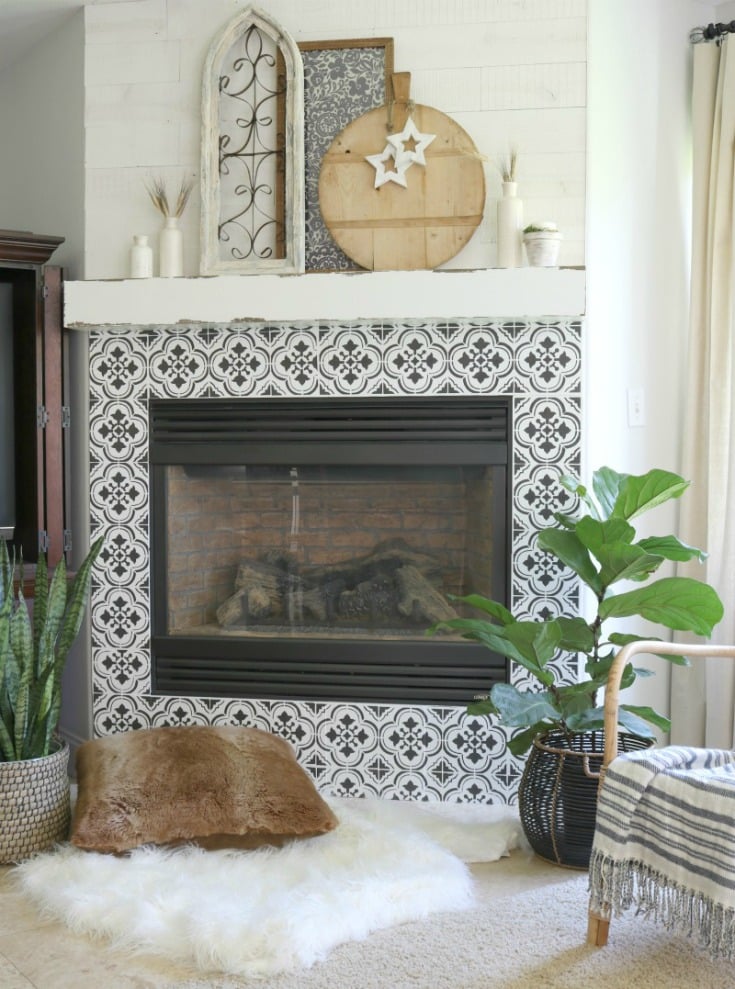

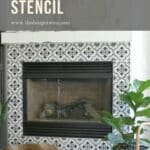
My Fireplace Transformation
There she is! I am usually rather modest. But I can’t get over the feeling of how proud I am of this stencil project. I think I’m still in shock that I did this all by myself. In person it really looks like I have beautiful new tiles. Buying and installing new tiles was an option I considered. At one point I pictured spreading grout and laying new tiles myself. Actually, I considered many different options, but with each option I found problems I couldn’t resolve and price tags I couldn’t justify.
Reasons Why Stenciling is a Great Choice
- Budget-friendly (I saved about $1000 in tile costs alone)
- No power tools required
- No experience necessary
- Ideal DIY project anyone can handle
- Versatile for lots of surfaces, sizes, projects
- Big impact
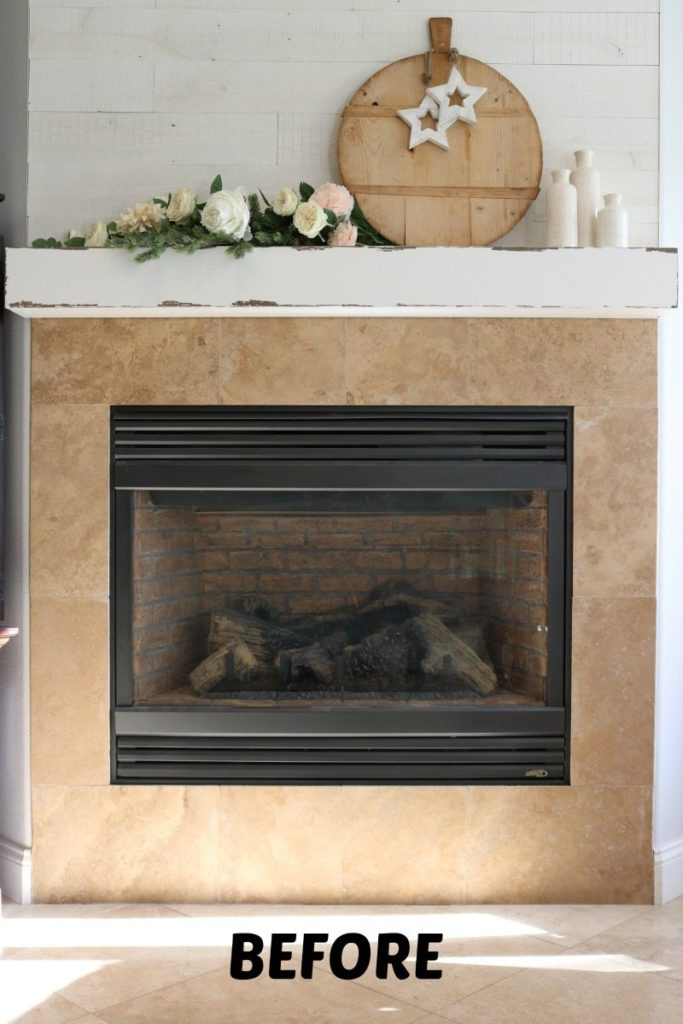
Now you might be asking yourself, what’s wrong with this? For someone else this might be fine. But you’ve got to admit it’s pretty bland. It doesn’t really command attention. We always felt uninspired. Luckily my husband felt the same way, so when I suggested changing it he didn’t protest.
What You’ll Need:
- Scissors
- Paper Towel
- Towel
- Drop cloth
- Painters Tape

- Scotch Spray Adhesive

- Regular paint brushes (for primer and base coat)

- High-density foam roller and


- Stencil Brush
- T.S.P. cleaning agent or similar

- Stix primer or similar

- Base Coat Paint – Benjamin Moore Flat Paint in Snowfall White
- Pattern Paint – Benjamin Moore Flat Paint in Iron Mountain
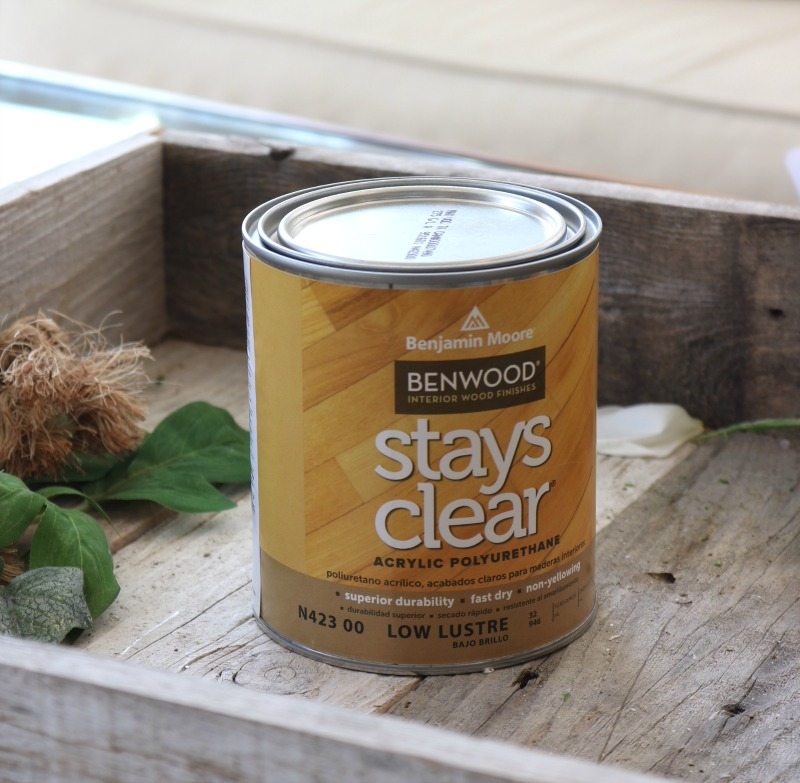
- Top Coat – Benjamin Moore Acrylic Polyurethane
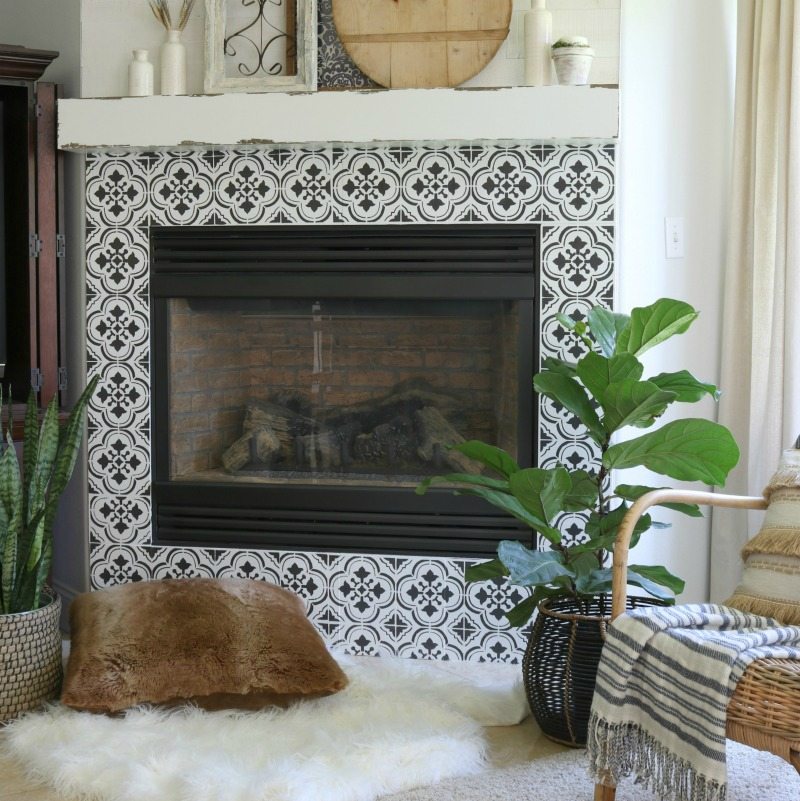
- Two (2) Stencils of your choice (so you can alternate and work faster): Mine is the Santa Ana Tile Stencil from Cutting Edge Stencils
Designer Tip: Most paint stores can match color information from other brands. If you like the colors I used and don’t have a local Benjamin Moore store you can head to your local paint store, and they can most likely do a color search and match of the above colors.
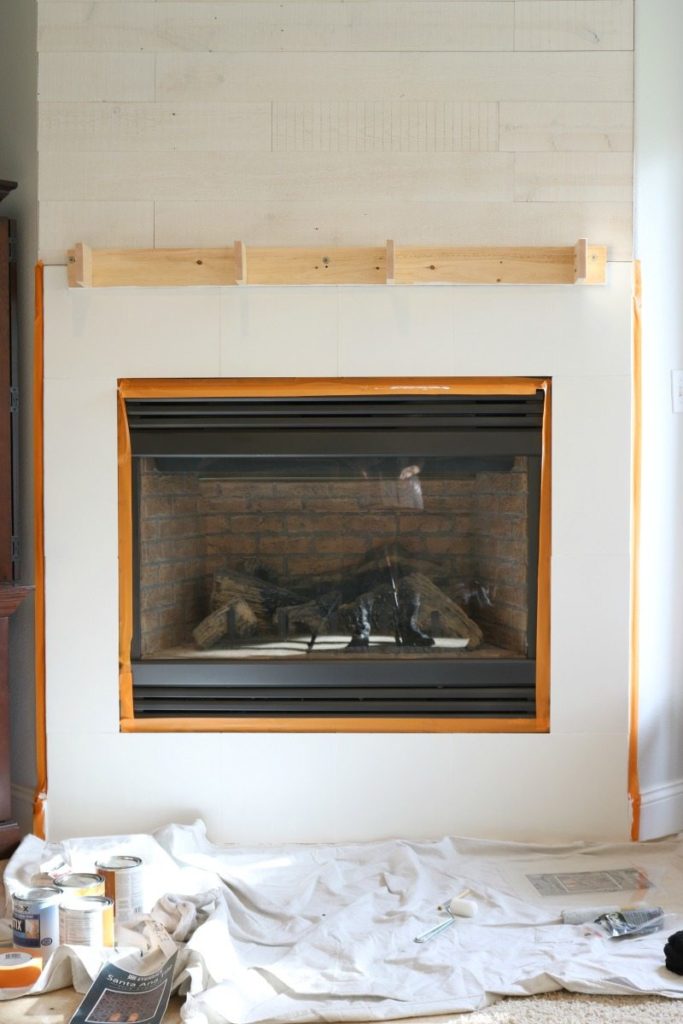
Prep Before You Stencil
- Start by washing with T.S.P., giving the surface a good scrub and then rinsing and drying well.

2. Time to tape off all the edges and make sure your surfaces are covered with drop cloths.
3. Paint a coat of primer. The type of primer you use is going to vary depending on the surface you are painting. For tile Stix primer was recommended as an excellent bonding primer by the stencil company and all the resources I consulted.
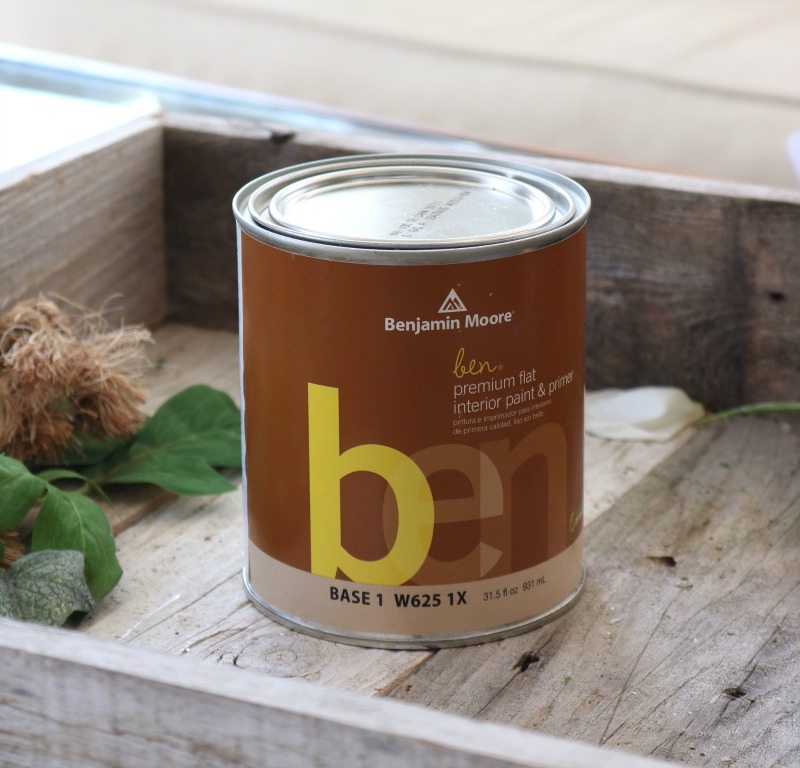
4. Next I painted 2 coats of the base color using Benjamin Moore’s basic flat paint, Ben, in Snowfall White.
Time to Stencil
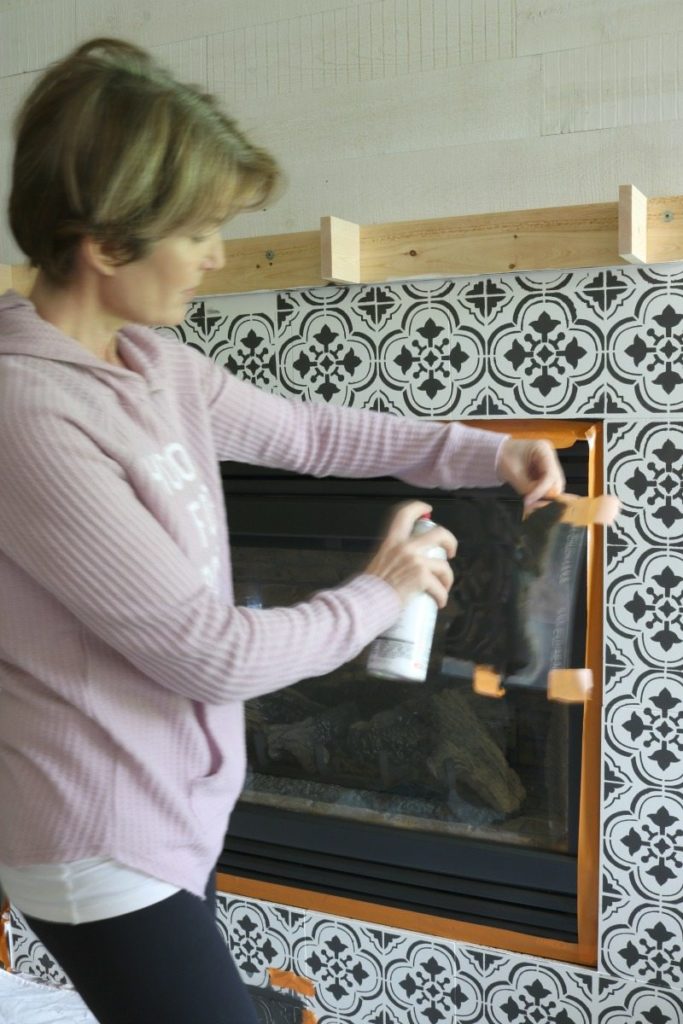
Finally I was ready to stencil! Depending on your surface you may choose to start in the middle or on the edge. I wanted the pattern to line up on the sides so that is where I started.
Use a spray adhesive like “Scotch” to spray the back side of the stencil and guarantee a tight seal of the stencil on the wall. You can also use tape along the edges. I used both.
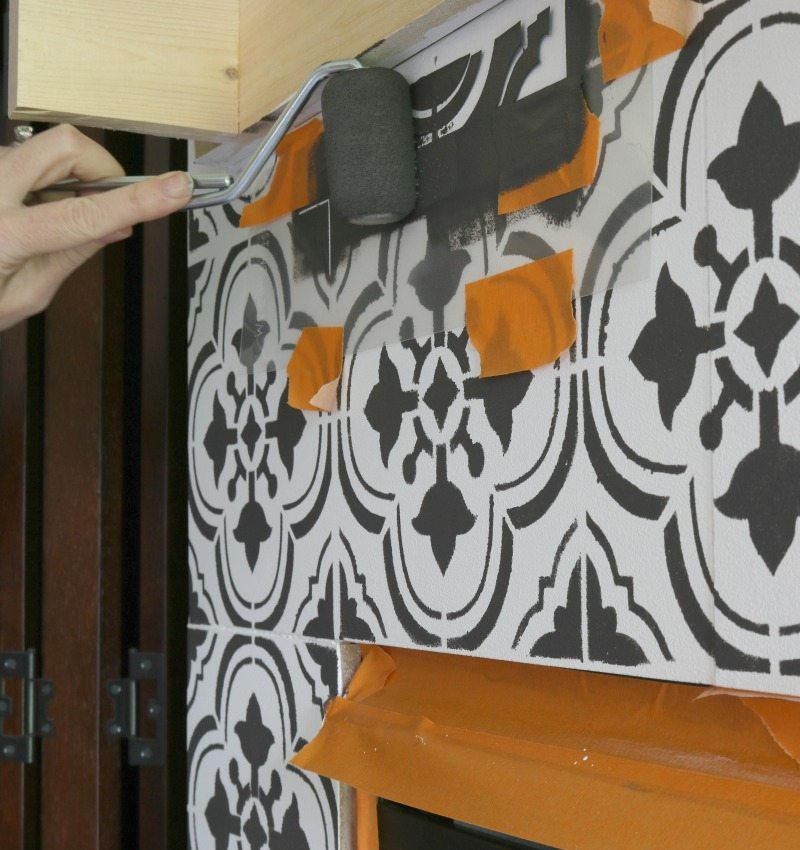
As far as finding the best technique for applying the paint I tried it all. The main thing that you want to find is a balance between enough paint to reveal a solid pattern and not too much paint to create a blurred or bleeding effect.
I tried rolling with a small firm roller, but it was hard to get at the smallest details this way. I would finish with the flat head stippling brushes to get into the details. Sometimes it came out perfectly clean, sometimes it bled. It was really hard to find a consistent method, so I just pushed forward with the idea that I could make corrections at the end.
Important Stencil Tips
- After painting each stencil I would wait a few minutes before pulling it off. I was working with two identical stencils so I could alternate between the two.
- You will want to skip a space between stencils allowing time to dry (you won’t want to overlap the stencil on wet paint). For my project I started working on both sides of the fireplace and kept alternating back and forth.
- An important step is to lay the stencil paint-side down on a paper towel to wipe off the extra paint in between uses. This will really help with potential paint build-up and potential bleeding.
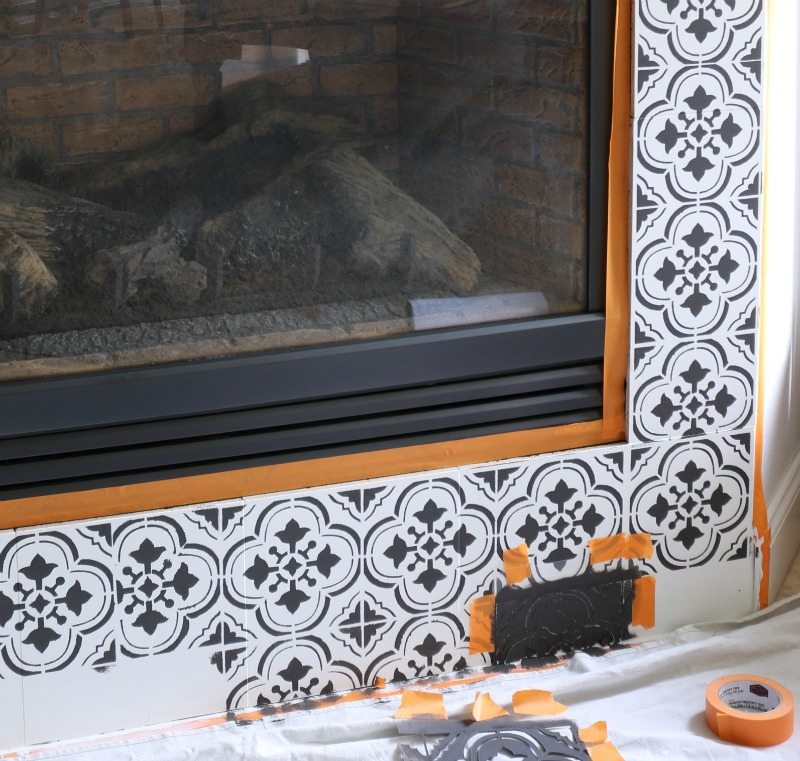
- When you come to the edge you will likely have to cut your stencil to fit into the corners or edges. As long as you have finished all your full stencil areas you don’t have to worry about cutting your stencil.
- Start with your biggest edge section first and work towards your smallest, measuring and cutting as you go. This is not as hard as it sounds.
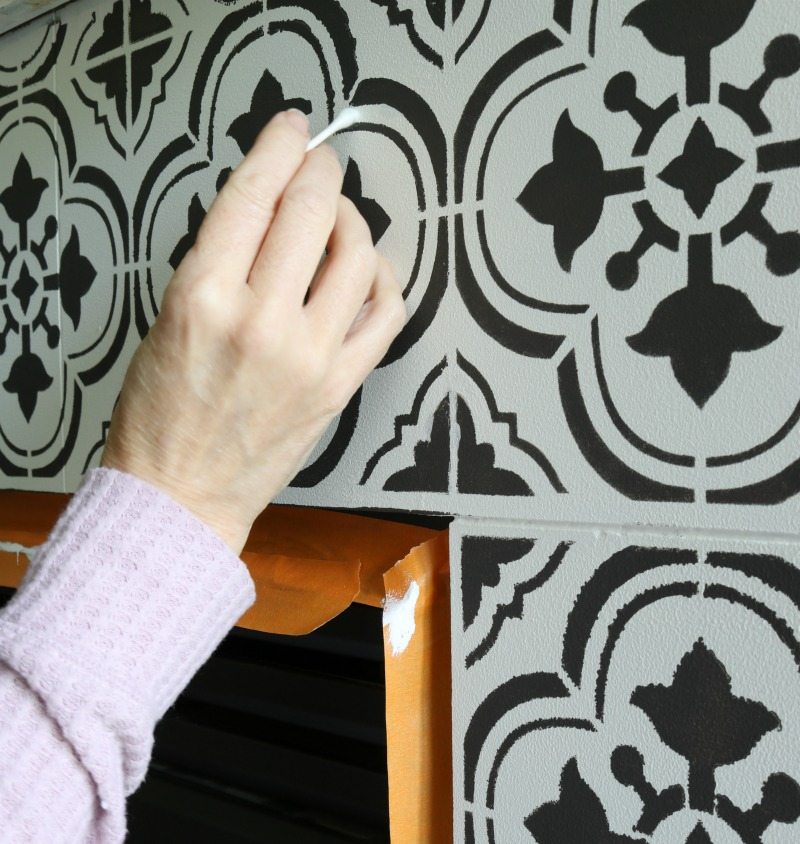
4. When I was done I went back with a Q-tip and touched up a couple of spots that had blurred and a few edges that were not as clean as I wanted.
In the end I decided to accept the blurred edges as part of the overall feel of “hand-painted tile” that I was going for. Stepping back even two to three feet made it nearly impossible to notice any of these imperfections. As hard as it was for the perfectionist side of me to do, I stepped back and said, “Good enough!”
Final Step: Seal It
The last step after the paint has dried is to apply a coat of the acrylic polyurethane. This is a fast and easy step. If you are applying your stencil to a floor or surface in a kitchen you will likely want to apply 2-3 coats. But for my purposes one was enough just to seal it.
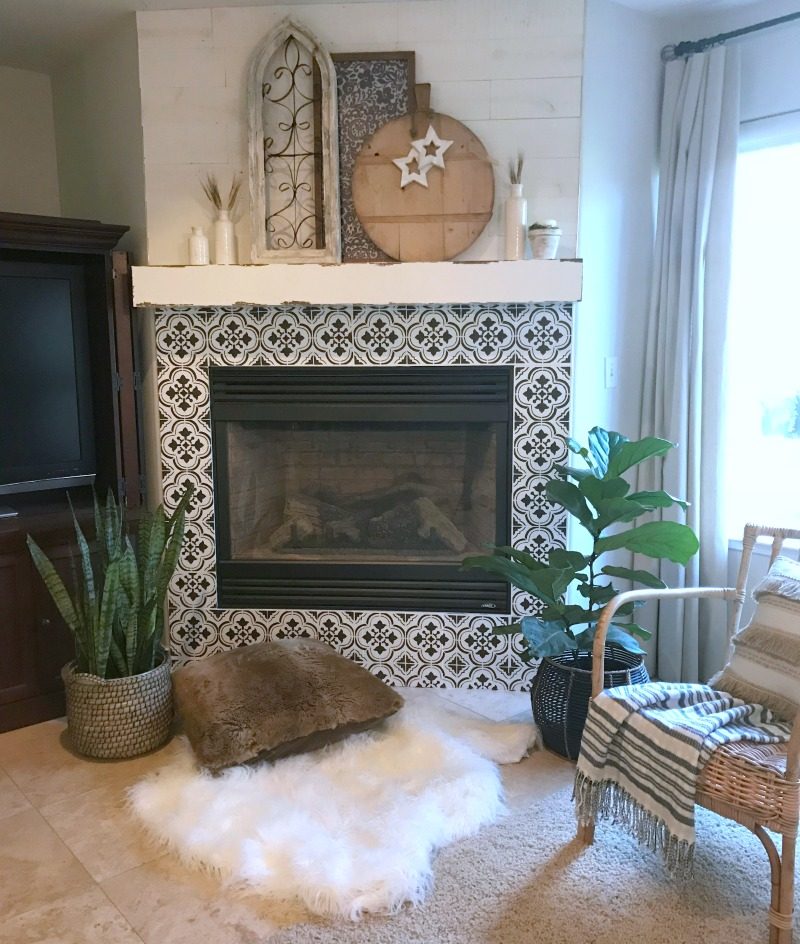
My Favorite Part….Time to Style
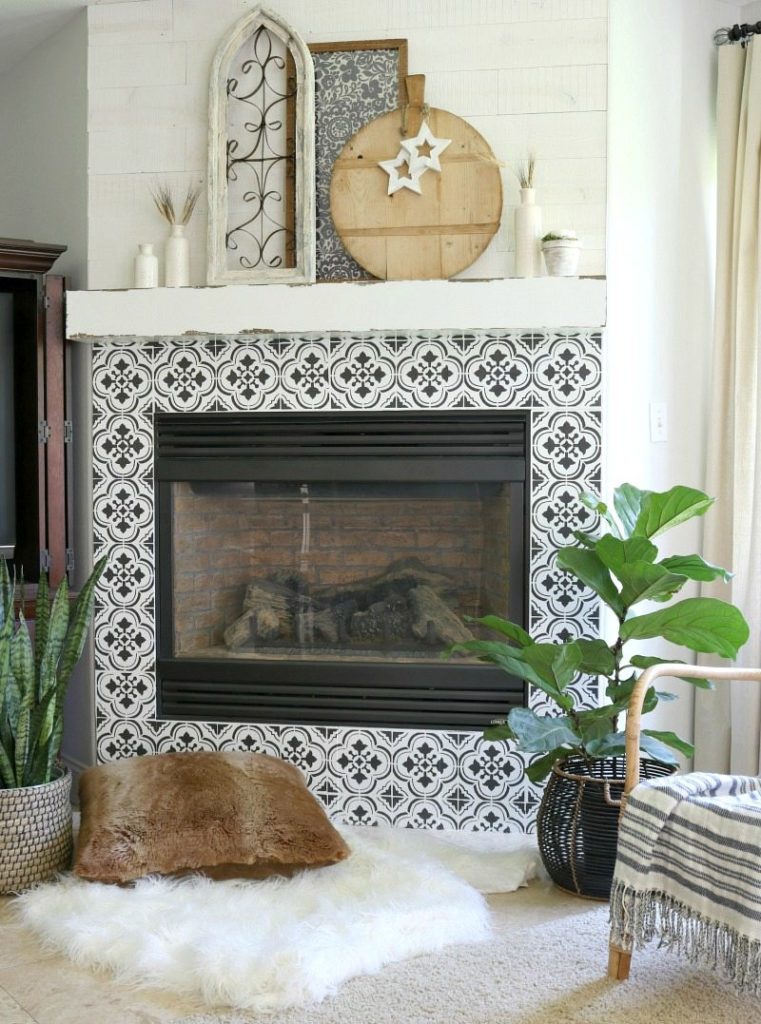
The new fireplace has not only improved the look of the fireplace but it has totally impacted the whole room. My whole family loves our new stenciled fireplace.
If you’re thinking about applying this project to flooring definitely visit my blog post all about my laundry room makeover.
I can’t imagine a DIY project more rewarding than this one. It turned a sore spot into a dazzling triumph I’m proud to show off. Adding to my happiness are the facts that I was able to do it all by myself, and it saved a ton of money. I feel like celebrating.
And if you love transforming things with paint you’ll love these other posts…. Chalk Painting with Confidence
Our Chalk Painting 101, a Tutorial and How to Chalk Paint a Piano.
Please leave a comment and pin to Pinterest if you enjoyed! Now, enjoy the rest of the tour!


[…] Bush | Your Marketing BFF | Lolly Jane | Happy Happy Nester Shabby Fufu | CG Home Interiors | Design Twins | Maison De […]
[…] Bush | Your Marketing BFF | Lolly Jane | Happy Happy Nester Shabby Fufu | CG Home Interiors | Design Twins | Maison De […]
[…] Bush | Your Marketing BFF | Lolly Jane | Happy Happy Nester Shabby Fufu | CG Home Interiors | Design Twins | Maison De […]
I love how this turned out!!
Thank you Christina, Julie and I sure appreciate your friendship and support. Love, Jodie
I’ve seen DIYers do this on floors and backsplashes but what a great idea to stencil on your fireplace surround!! Pinning this one for a project that I might attempt later!
Janet, We sure appreicate your kindness as we travel this journey. Thanks for the sweet reply (and for pinning). Blessings, Jodie & Julie
[…] | Your Marketing BFF | Lolly Jane | Happy Happy Nester Shabby Fufu | CG Home Interiors | Design Twins | Maison De […]
Wow – what a difference it made to your fireplace! (And I love all of your reasons why stenciling is a great choice! So, so true).
Tana, Thank you honey. We’re so glad you agree 🙂 Boy, it feels good when I can improve my home AND save money! Woo hoo! Thanks for the kind reply. Take care, Jodie & Julie
[…] Bush | Your Marketing BFF | Lolly Jane | Happy Happy Nester Shabby Fufu | CG Home Interiors | Design Twins | Maison De Pax Share Pin Tweet +1 StumbleShares […]
Jodie,
Your fireplace is so fabulous!!! Holy Guacamole, you nailed it, girlfriend! I keep looking out at our patio and wondering if I should tackle my project. I’ll just keep watching your projects before I decide if I have what it takes to do it! Thanks for the great post!
Haha Janine, You are the best! So glad you like it too. We are pretty excited over here. Julie and I count you among our great blessings from this journey. So happy to call you our real friend. Blessings, Jodie & Julie
What a huge difference, wow! Looks AMAZING, ladies!!
xoxo, your other fav twins 😉
Thanks Girls, That means a lot coming from such awesomely inspiring DIYers 🙂 So happy to have you visit our blog and we sure appreicate the kind comment. All the best, Jodie & Julie
Lolly Jane,
Thank you for the sweet comment dear! We are glad you loved it as much as we do! Love you two!
XO ~ Jodie and Julie
Jodie, I want to do this somewhere. It’s gorgeous
Thanks Rhonda! You’re a sweetheart. It means a lot coming from you. XO ~ With love, Julie & Jodie
Rhonda,
Thank you for the sweet comments! Yes, it really is, isn’t it?:) XO ~ Jodie & Julie
Absolutely gorgeous!!! I’ve been wanting to do this to my fireplace (looks exactly like your before picture) but I’ve been worried about how the paint/sealer will react to heat. Do the surrounding tiles of your fireplace get hot to the touch like mine after a long time of being on? Will it bubble the paint? Thanks for the great tutorial!
Erin,
Thank you so much sweetie! I think the surrounding tiles are bound to get heated, but the paint shouldn’t bubble… Let us know if you have any more issues! Thanks for the sweet comments 🙂 XO ~ Jodie & Julie
[…] week we published the DIY transformation of Jodie’s fireplace. It looks like Jodie got all new tile. In fact, she painted her old plain tile using a stencil for […]
[…] week we published the DIY transformation of Jodie’s fireplace. It looks like Jodie got all new tile. In fact she painted her old plain tile using a stencil for a […]
What a fantastic tutorial. I love the old world charm! My fireplace has no mantel so you have definitely got me thinking. Thanks for hosting this linky party opportunity.
Darlene,
So glad you enjoyed this post! We are glad to see you inspired by this idea! Hope you continue to enjoy our posts in the future!
XO ~ Jodie & Julie
What a stunning DIY project!! It really turned out nice and very dramatic! I have a row of ‘ugky’ Tiles in my shower that I have been contemplating painting out. You have inspired me to do a bit more research on it.
Beautiful job!
Marion, We are so glad this post inspired you! Jodie has been unhappy with her tiled fireplace since she first moved into her home almost 10 years ago. To see this result and know how happy she is amazes me. It has become a source of beauty instead of disatisfaction! You can do it too 🙂 Good luck and have fun, Julie
Jodie, this looks amazing, what a transformation! and I love how you’ve styled it as well! Great job!
xoxo
Kim
Dear Kim,
Thanks so much for the kind words. We love being connected to you and Lacey. Your creations always amaze and inspire us. So excited to have you join us on our Friday Friends Parade too. Blessings always, Julie & Jodie
[…] DIY projects, we still aren’t over the transformation of Jodie’s fireplace with her Fireplace Stencil Project. If you haven’t read the blog post yet you will definitely want to check out all the details […]
Your new fireplace surround looks awesome!!
Pamela, Thank you so much. It turned out even better than I hoped! Totally worth the time and effort. On to the next project 🙂 All the best, Jodie
[…] interested in turning your existing tiles into gorgeous stenciled tiles read my blog post, “How to Get The Look of Real Tile With Stencil.” In it I share the step-by-step process I used to make over my fireplace […]
[…] interested in turning your existing tiles into gorgeous stenciled tiles read my blog post, “How to Get The Look of Real Tile With Stencil.” In it I share the step-by-step process I used to make over my fireplace […]
[…] Bush Your Marketing BFF Lolly Jane Happy Happy Nester Shabby Fufu CG Home Interiors Design Twins Maison de […]
What size stencil did you use? 6×6 or 8×8?
Rachelle,
These tiles were hand cut so they are a custom size, which is 7.5″ x 7.5″, but they sell them as 8 x 8 I believe. Hope this helps!
XO ~ Jodie & Julie
[…] DIY projects we still aren’t over the transformation of Jodie’s fireplace with her Fireplace Stencil Project. If you haven’t read the blog post yet you will definitely want to check out all the details […]
Whew!! So happy I found your tutorial! I to have uneven sized tiles and wasn’t sure I could stencil over the seems but yours looks fantastic!!! Thank you!!
Sue
Suzanne,
Well we are sure glad you found our tutorial helpful. Let us know how your project goes. Wishing you all the best! Julie & Jodie
I did this stencil based on your post! Thank you! I love it!! Great instructions!
Jennifer,
Aw thank you so much Jennifer! You’re so sweet! So glad you tried out this stencil and enjoyed this post.
Lots of love,
Jodie & Julie
[…] Decorative Stencil Patterns for Fireplace Tiles […]