


Table of Contents:
- Why We Love DIY Painted Pumpkins
- Before Picture: DIY Painted Pumpkins
- DIY Painted Pumpkins Step by Step
- Step 1. Gather your tools and materials
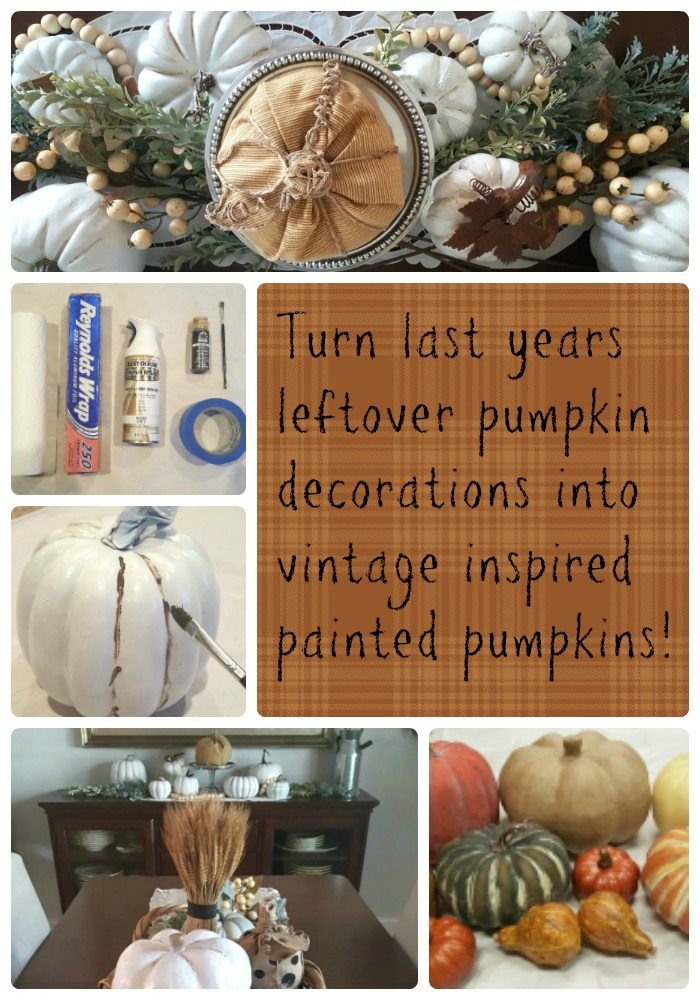
- DIY Painted Pumpkins Material List
- Step 2. Cover Stems of your DIY Painted Pumpkins
- Step 3. Prep the Area
- Step 4. Spray Paint to create your DIY Painted Pumpkins
- Step 5. Painting the Vintage Effect of your DIY Painted Pumpkins
- Your Finished DIY Painted Pumpkins
- Step 6. Styling
- Vintage-Inspired Painted Pumpkins in Your Fall Decor
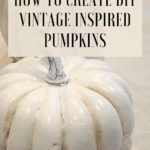
how to create dIY vintage-inspired Painted Pumpkins
Here’s a fun, easy way to turn your mix-matched pumpkins into elegant looking vintage-inspired decor. How? With paint, of course. With this easy, DIY guide I will show you how to turn your misfit pumpkins into beautiful DIY vintage-inspired painted pumpkins.

Why We Love DIY Painted Pumpkins
If you’re at all like us, you collect decor items randomly, here and there, one or two at a time.
This seems to be the case with pumpkins especially. They are so CUTE. We love them in every shape, size and color.
But in the end you wind up with a collection of pumpkins. While cute, that don’t make a lot of sense in your home decor.
And while we LIKE orange, we are not always in the mood for orange.
So, this year we decided to add a little cohesiveness (and a bit more elegance, in our opinion) to our fall decor by adding paint.

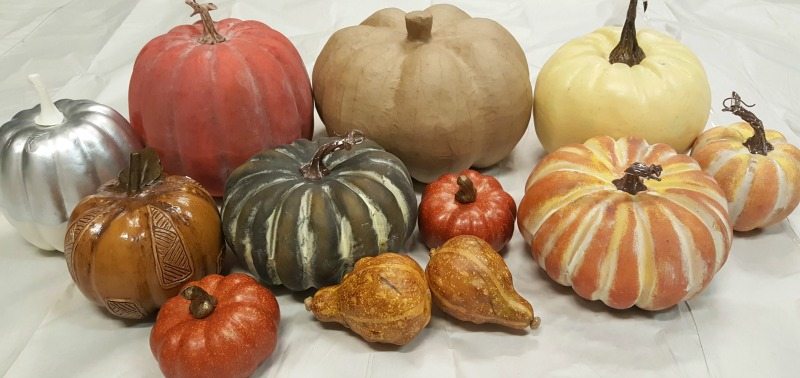
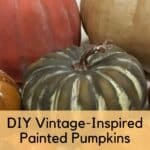
Before Picture: DIY Painted Pumpkins
Here is our mix-matched crew of collected pumpkins.
You can see they need some cohesion if we are going to use.
DIY Painted Pumpkins Step by Step
Step 1. Gather your tools and materials
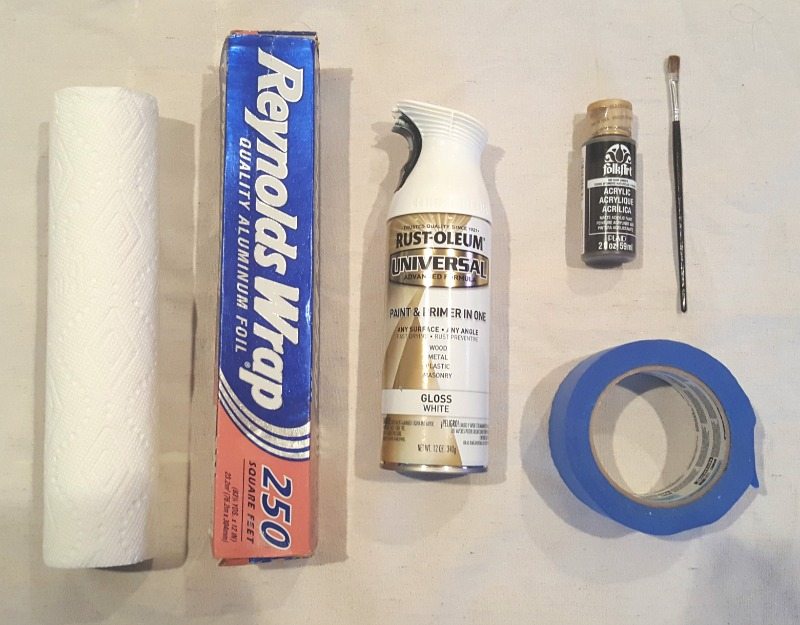
Gather your tools together so you are ready to create.
Note About Affiliate Shopping Links:
We provide affiliate shopping links below for your shopping convenience. When you click on these links to shop we receive a small commission from your purchases. They add no additional charge for you to use, and they help support our blog. As always we very much appreciate when you shop with us.
DIY Painted Pumpkins Material List
- A collection of misfit pumpkins. For this occasion you may also want to visit your local Dollar Store to add some cheap pumpkins to the mix. If you need more you can shop the link below for white pumpkins. This will save you a step (painting them white). All you will have to do is add your vintage detail.
- White spray paint. Matte or gloss. White or cream. I used white for mine. The collection above was completed with one can, but I would be safe and get two cans. Shop directly below.
But we also love the idea of the color option: Matte French Cream, for a softer look. Shop below.
- Burnt Umber craft paint
- Small paint brush
- Aluminum foil
- Painter’s tape
- Paper towels
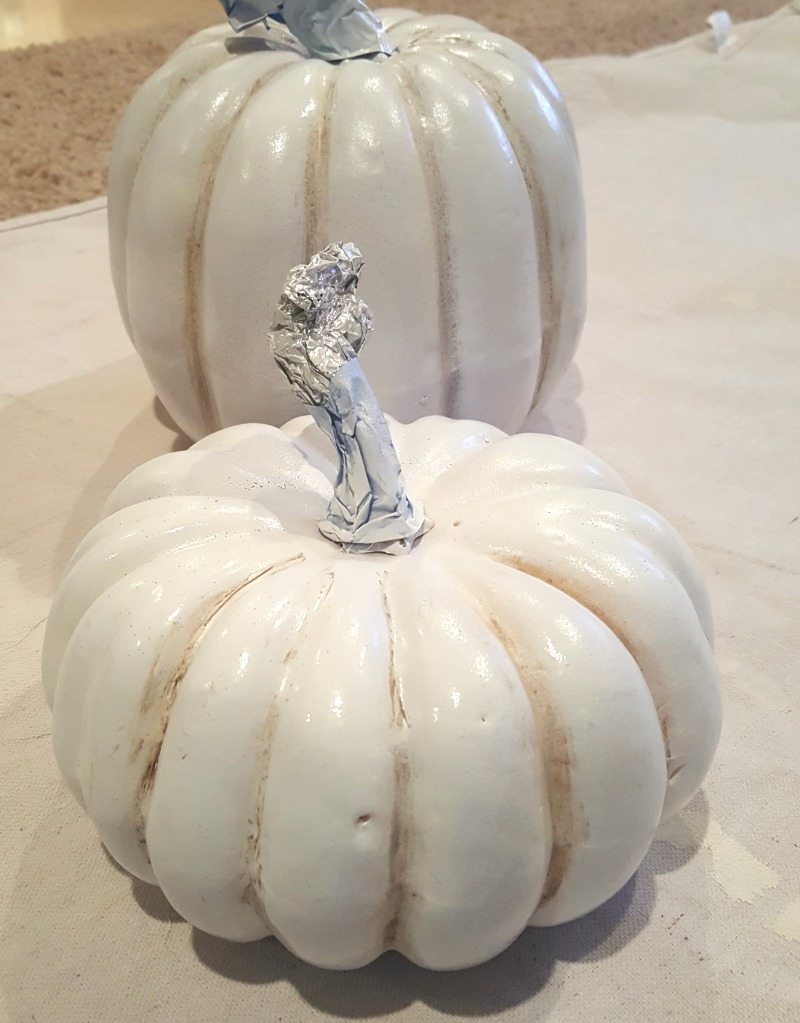
Step 2. Cover Stems of your DIY Painted Pumpkins
Using aluminum foil, cover the stems. Seal the edges with blue painters tape to protect the stems from the paint.
Step 3. Prep the Area
Lay your pumpkins out on a drop cloth in a well-ventilated area like an open garage.
Step 4. Spray Paint to create your DIY Painted Pumpkins
Spray a couple of light coats of paint on your pumpkins. Just follow general spray paint instructions. Do several light coats. Then turn them over to get the underside.
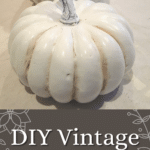
Step 5. Painting the Vintage Effect of your DIY Painted Pumpkins
- When your pumpkins are dry (and all white) you can bring them inside to do this next step.
- Using your small paint brush and Burnt Umber craft paint, paint a stripe of paint into each of the crevices of the pumpkin.
- Do two stripes at a time and then wipe with your paper towel to create a smudge.
- How much you take off is totally up to you.
- The idea is that you don’t want the pumpkins to look “striped.” Instead you want to create an antiqued look as if dirt has settled into the cracks and created an aged or vintage look.
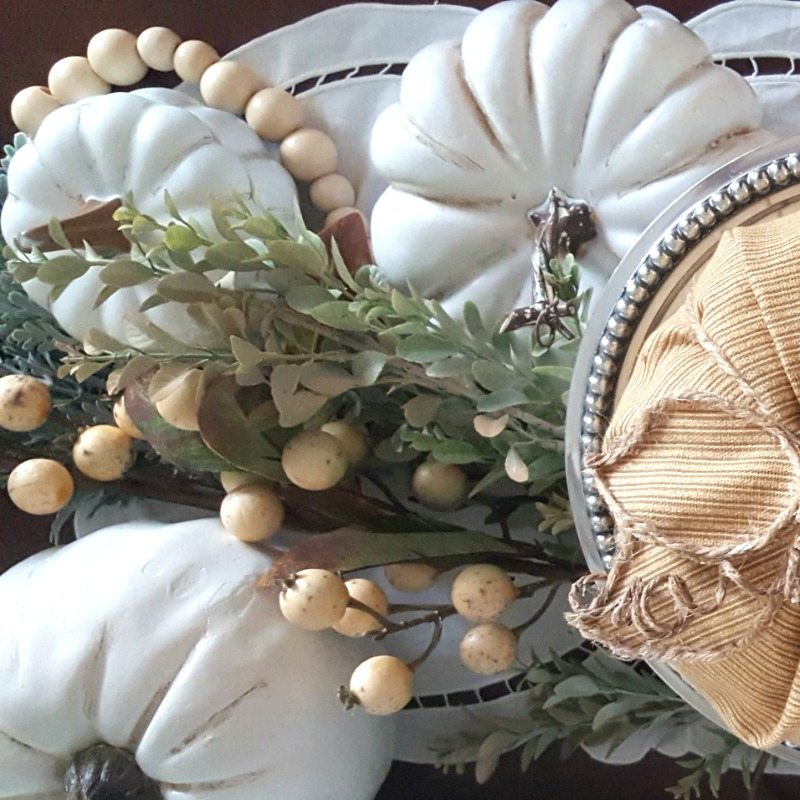
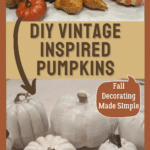
Your Finished DIY Painted Pumpkins
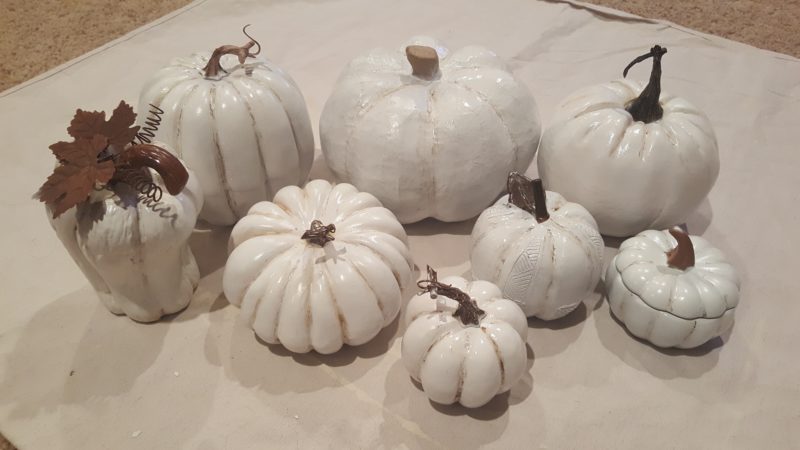
Step 6. Styling
Next, it’s time for my favorite part….Styling! Have fun decorating with your “new” vintage-looking pumpkins.
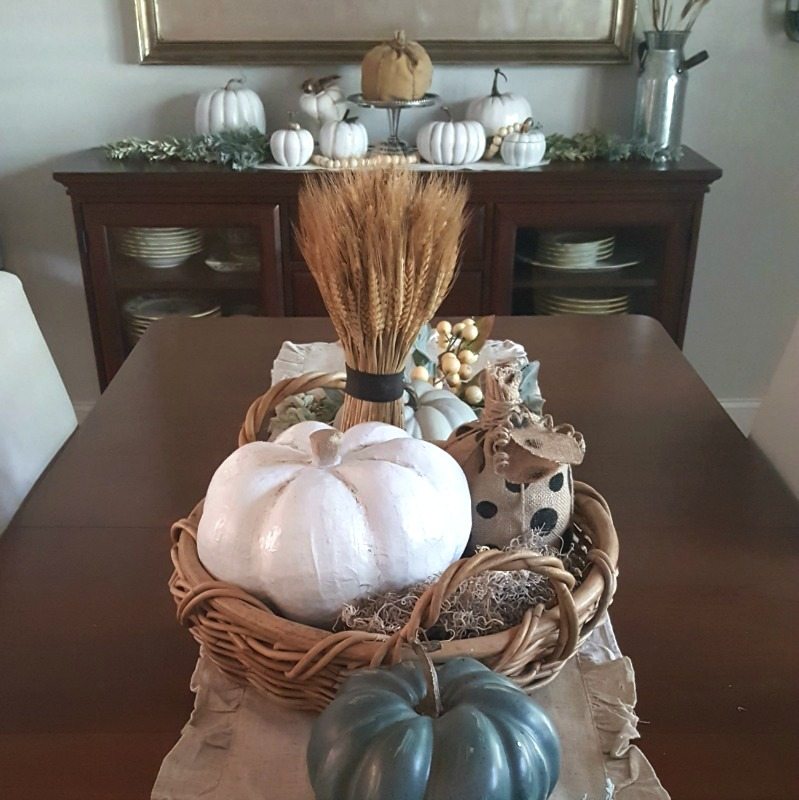
Vintage-Inspired Painted Pumpkins in Your Fall Decor
Once you get your pumpkins ready you can have a great time using them throughout your fall decor. Use them everywhere:
- Fall Tablescapes: Add pumpkins to your centerpiece
- Table settings: Add to the center of your plates as a focal point
- Fall Front porch
- Coffee table vignette
- Side table vignettes
- Fall Entryway decor
- Kitchen decor
Have fun adding your “new” pumpkins anywhere you add fall decor. Get creative. Let us know in a comment below all the creative places you used your vintage-inspired painted pumkins.
For more fun fall craft ideas take a look at this fun project:
How to Transform your Decor with Easy Wall Art


Hi Julie and Jodie, so good to see you both! Love your new short hair! Looking forward to painting pumpkins again this year. Love your idea with white! Congrats on your new business! Good luck sisters❤️
Thank you Leslie! So nice to hear from you! And we’re so happy you came to visit our blog! We hope we can keep inspiring you!! xoxo Julie & Jodie
Hi girls !! Loving your blog and these painted pumpkins!! So happy for you both! What a fun adventure!! I tried to koi your email but it said too many requests . Will try again tomorrow !
xo~Pamela
Aw thank you so much Pamela!! We are so grateful for your kind words of support! Really, they mean so much to us as we embark on this brand new adventure. I don’t know why the email did that…hopefully next time you try it will be without any problem. Blessings to you sweet friend, Julie & Jodie
FABULOUS…great job with depth and making them look realistic! LOVE!
Hi Pollyanna,
Thank you so much for coming to visit our blog!! And for your supportive comments! It’s like seeing a familiar face in a crowd! I have so much admiration for what you do (did you notice that cooking & recipes are NOT in any of our blog categories! hahah!)…so coming from you this means an awful lot!! Thank you!! xoxo Jodie and Julie
Julie and Jodie-
I’m definitely gonna try painting my pumpkins this year. I just love this idea. They look so upscale. Thanks for the tutorial. You girls amaze me and I’m glad I found you on IG. ????????
Hi Girls,
This is a great idea…thanks for showing how to make them look vintage! The pumpkins you made are so cute, just love them!
Brenda, So glad you love them like we do. Basically we can’t get enough of this project. We did it again this year. It’s so easy and fun (and saves money buying “fancy” pumpkins). And as with all DIY’s you get the satisfaction of knowing you created it yourself. Cheers to DIY’s! Your friends, Jodie & Julie
Jodie, your blog posts are fabulous! I’M SO SLEEPY, BUT WANTED TO LET YOU KNOW HOW MUCH YOUR POSTS, STORIES & BLOGS ARE APPRECIATED
Oh My Sweet Friend! You are just a love to say so…even when you are sleepy…hee hee 🙂 Thank you, Honey, for your kind reply and for your sweetest support. We sure hope you continue to enjoy. Many blessings, Jodie & Julie
I just purchased some of these pumpkins at dollar store today..they had some heavy ones with polka dots too, they are adorable..I need more pumpkins like I need a hole in my head, but couldn’t help myself.love your ideas!
Kathy,
I’m afraid we totally relate to your “need” for pumpkins 🙂 Great minds think alike. We are so glad you are enjoying our blog and always love hearing from you. XO ~ Jodie & Julie
[…] Make these DIY vintage-inspired painted pumpkins for your fall decor. this is an inexpensive way to create some good-looking pumpkins. Gather some old pumpkins and turn them into vintage-inspired pumpkins only with paint. You can use them for decorating your centerpiece, fall front porch, and kitchen decor. Material needed is a collection of misfit pumpkins, white spray paint, burnt umber craft paint, a small paint brush, aluminum foil, and painter’s tape. Details are here! […]