


Table of Contents:
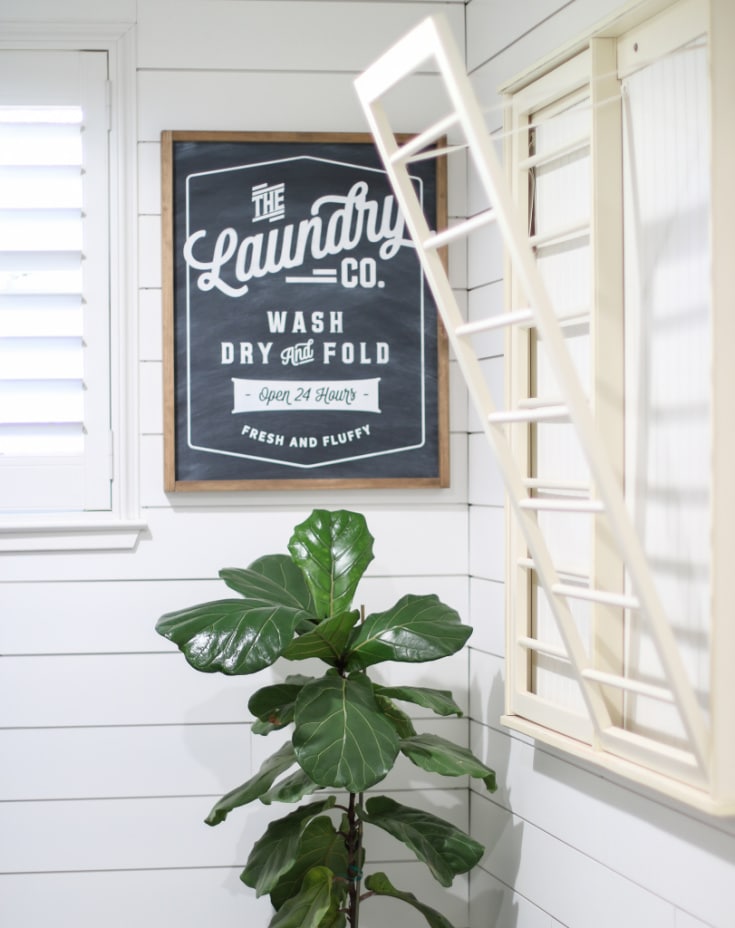
Stenciling is one of our favorite DIY projects of all time. It’s easy even though it looks hard. It’s fun because the end results are so dramatic and impressive. Don’t worry. We won’t tell your family and friends how easy it was to create your stencils. You can accept their compliments and praise, and this will be our little secret.
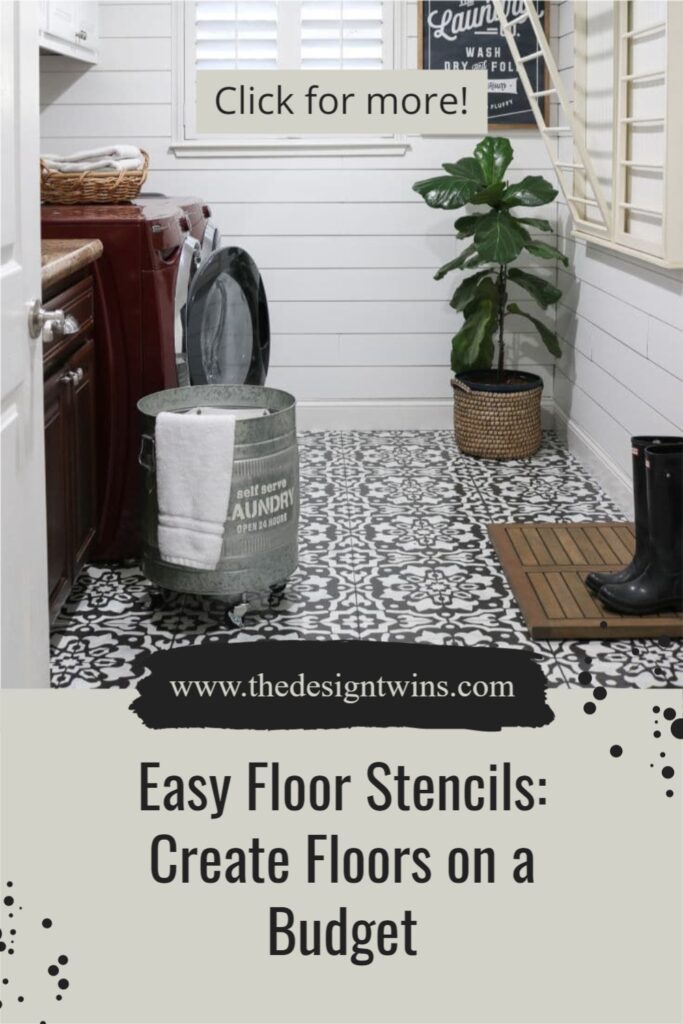
Reasons Why Floor Stencils are a Great Choice
- Budget-friendly
- No power tools required
- No experience necessary
- Ideal DIY project anyone can handle
- Versatile for lots of surfaces, sizes, projects
- Big impact
This post contains Amazon Affiliate links. Be sure to read the full disclosure.
What You’ll Need to Stencil Floors
- Scissors
- Paper Towel
- Towel
- Painters Tape

- Regular paint brushes for edging (for primer and base coat)

- High-density foam roller

- Stencil/Stippling Brush (for details)

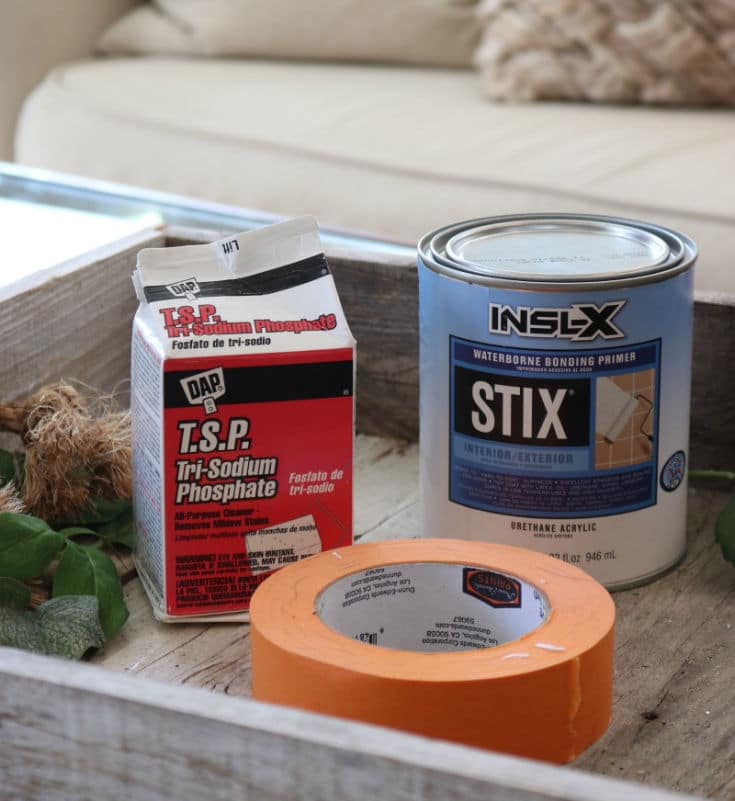
- T.S.P. cleaning agent or similar

- Stix primer or similar

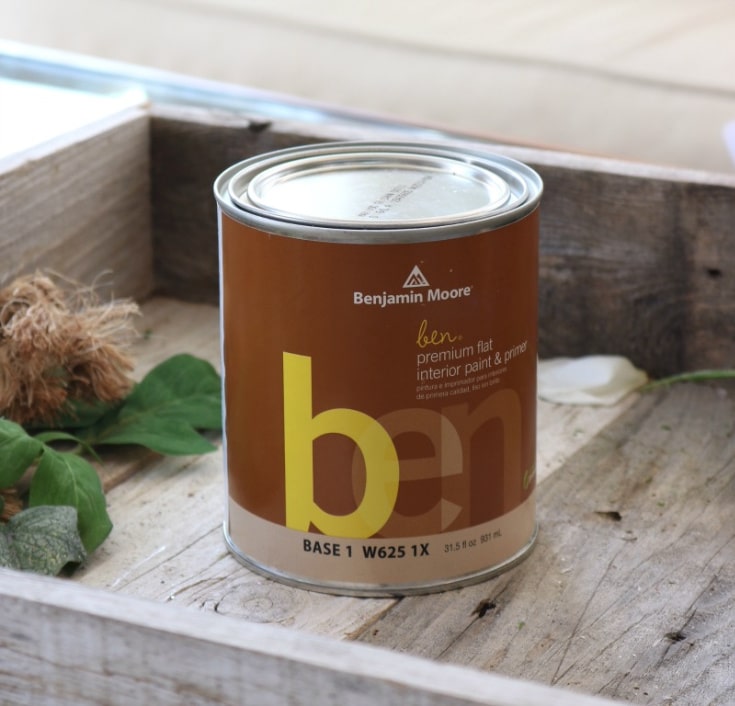
- Stencil Paint – Benjamin Moore Flat Paint in Snowfall White (color I chose)
- Base Coat Paint – Benjamin Moore Flat Paint in Iron Mountain (color I chose)
- Top Coat – Benjamin Moore Acrylic Polyurethane
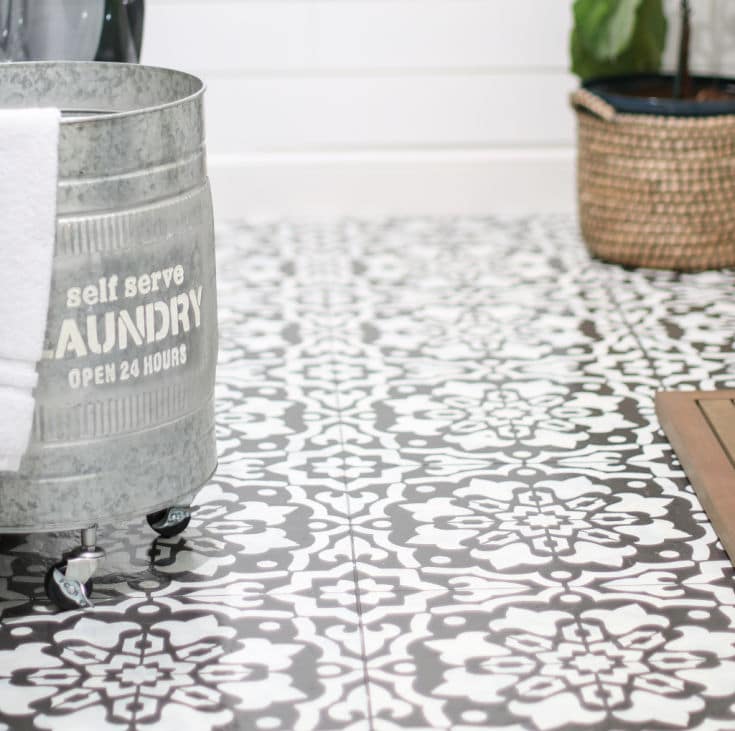
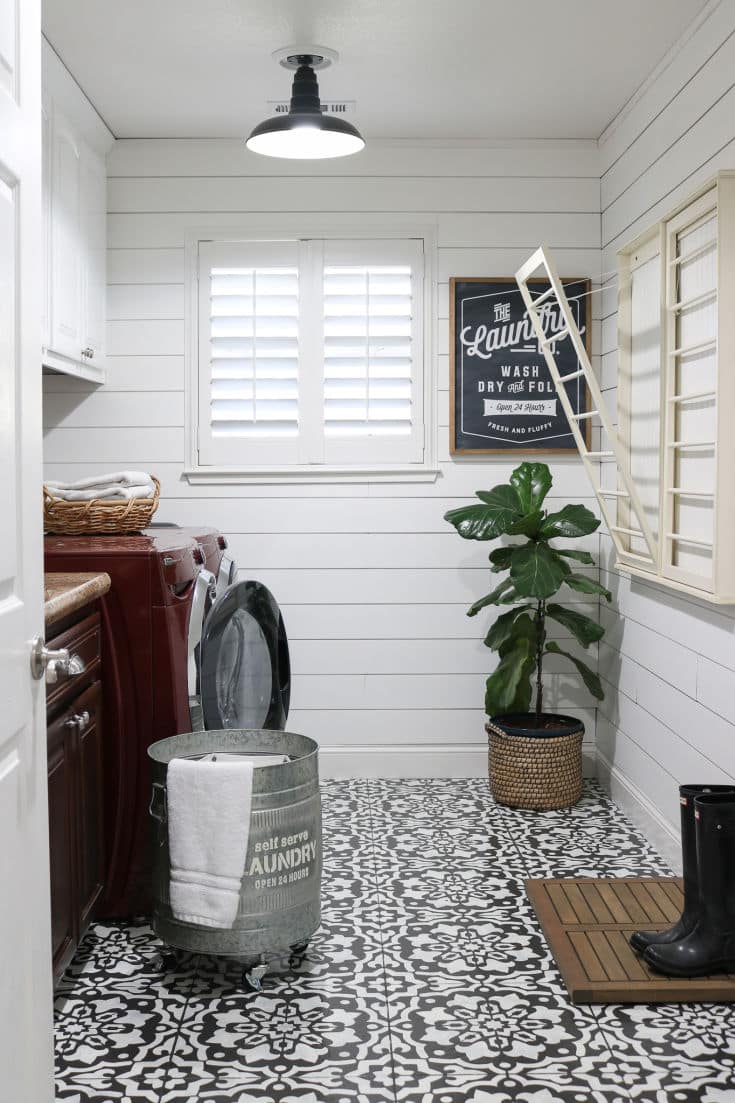
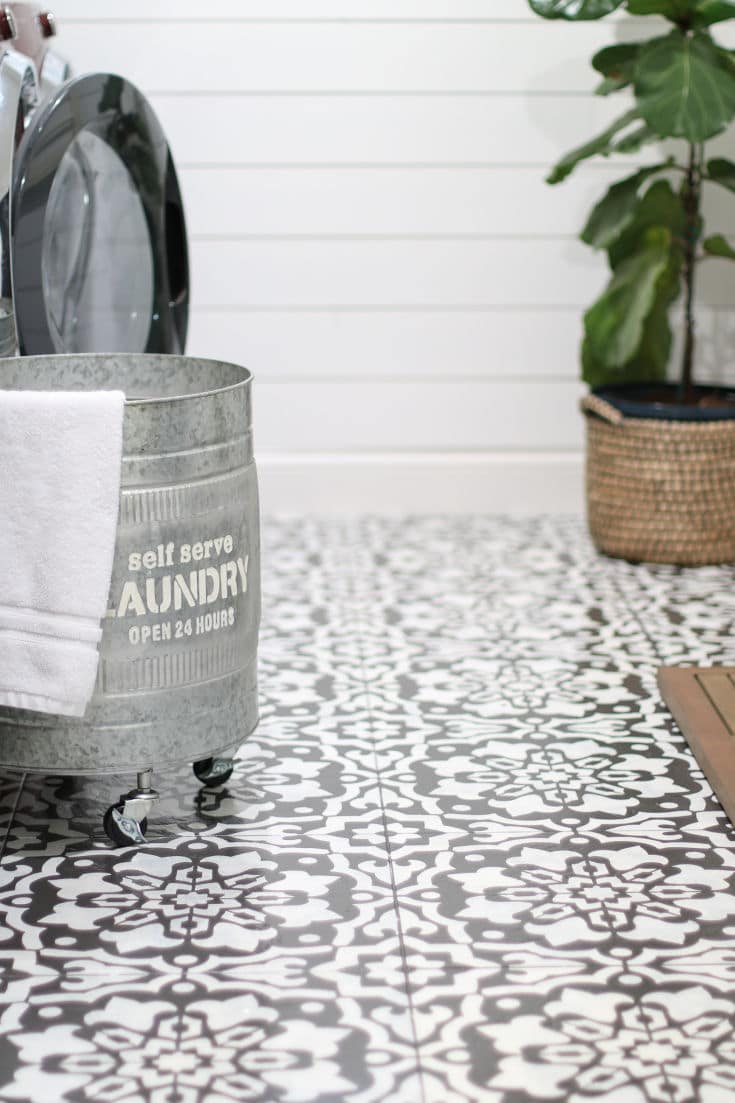
- Stencil of your choice: Mine is the Amalfi Tile Stencil from Cutting Edge Stencils
Prep Before You Stencil
Prep for tile floors before stencil
- Start by washing the floors with T.S.P., giving the surface a good scrub and then rinsing and drying well.
- Time to tape off all the baseboards.
- Paint a coat of primer. The type of primer you use is going to vary depending on the surface you are painting. For tile Stix primer is an excellent bonding primer.
- Next, I painted 2 coats of the base color using Benjamin Moore’s basic flat paint, Ben, in Iron Mountain.
Prep For vinyl or linoleum or floors the prep is a bit more complex
- Do a paint test on the floors first to make sure the color dries and it looks like you want it to. If the test turns out ok, proceed to the next step.
- Sand floors with 220-grit sandpaper until floors have a dull shine. You may want to use a sanding pole to avoid getting on your knees for this task. Buff your floors until smooth.
- Wipe clean.
- Apply a liquid deglosser using an extra-long adjustable handle. Start in the back corner of the room and work your way out. Let it dry.
- Now you are ready to prime. Choose a primer that is recommended for Linoleum or vinyl floors like Zinsser Primer 123 or Gripper.

Prep For Concrete floors
- Patch and fill any holes or gouges in the surface.
- Clean with TSP.
- Paint a layer of Concrete Bonding Primer. Tap the photo below to shop.

- Scrape & sand off any bumps or areas where the paint didn’t adhere.
- Instead of using a regular latex paint for your basecoat you should use a paving paint or porch-and-floor enamel for your 2 layers of basecoat paint. Tint your basecoat to any color of your choice.

- Then follow the same stenciling steps as with the tile floors.
Time to Stencil
Finally, I was ready to stencil.
- Once again, start in the back corner and work your way out, so you don’t get backed into a corner.
- I recommend starting in an area that might be somewhat hidden from view if possible.
- Because you will get better as you go.
- You can use the spray adhesive like “Scotch” to spray the back side of the stencil for a tight seal of the stencils on the floor.

- You can also use tape along the edges.
- I tried using both but ended up just using the tape.

Techniques For Paint Stencils
- As far as finding the best technique for applying the paint it’s all about trial and error.
- The main thing that you want to find is a balance between enough paint to reveal a solid pattern and not too much paint to create a blurred or bleeding effect.
- Your stencil tool options are the stippling brush or the high-density roller.
- I used the foam roller because it was such a large project.
- For me, the stippling brush wasn’t a realistic option except for some of the corrective detail work.
- Sometimes the stencil came out perfectly clean, and sometimes it bled.
- I found it hard to find a consistent outcome, so I tried not to get discouraged.
- Continue, knowing you can make corrections at the end.
Important Tips for Stencils
- After painting each stencil, I waited a few minutes before pulling it off. The movement of pulling the stencil off can smudge the edges. I worked with two identical stencils so I could afford to let the stencil set for a few minutes, alternating between the two.
- Skip a space between stencils allowing dry time (you won’t want to overlap the stencil on wet paint).
- An important step is to lay the stencil paint-side down on a paper towel to wipe off the extra paint in between uses. This will minimize potential paint build-up and potential bleeding.
- When you come to the edge you will likely have to cut your stencils to fit into the corners or edges. If you have finished all your full stencil areas you don’t have to worry about cutting your stencil.
- Start with your biggest edge section first and work towards your smallest, measuring and cutting as you go. This is not as hard as it sounds.
- When I was done, I went back with a Q-tip and touched up a couple of spots that had blurred and a few edges that were not as clean as I wanted.
- I recently touched up my floors and used a painter’s brush and it worked well. (Better than the Q-tip.)
- In the end, I decided to accept the blurred edges as part of the “hand-painted” look I was going for.
- When you step back you realize how it’s nearly impossible to notice any of these imperfections. As hard as it was for the perfectionist in me, I stepped back and said, “Good enough!”
Final Step: Seal Painted Stenciled Floors
- The last step after the paint has dried is to apply a coat of the acrylic polyurethane.
- This is a fast and easy step.
- If you are applying stencils to a floor or surface in a kitchen you will likely want to apply 2-3 coats.
- Luckily, it dries in 2 hours, and you can reapply.
- You can feasibly get all three coats done in one day.
- Let it dry another 24 hours before moving things back into the room.
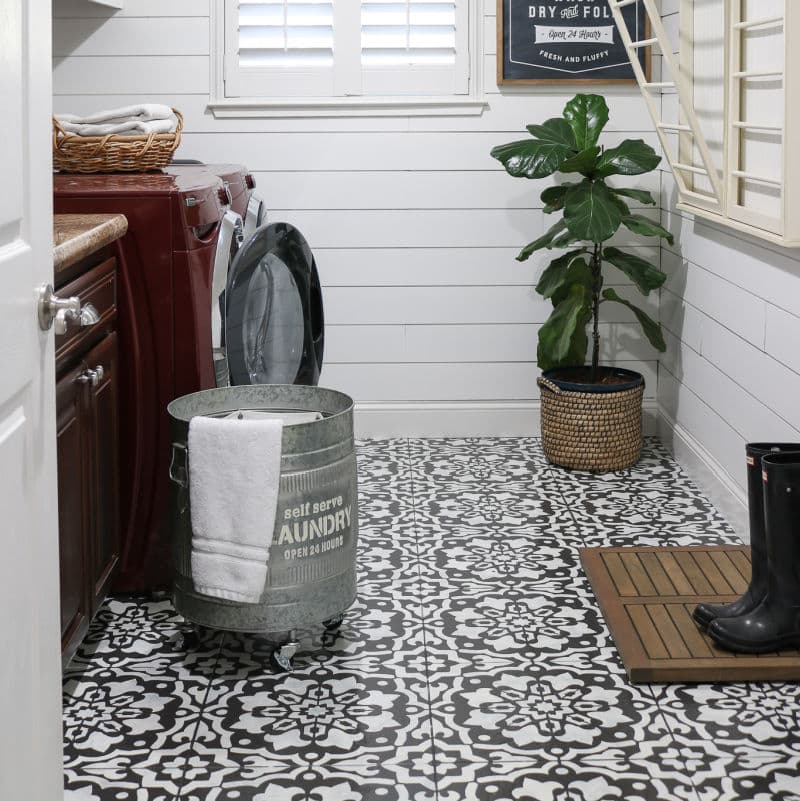
 Floor Stencils: Wear and Tear
I get asked all the time, “How well does this last?”
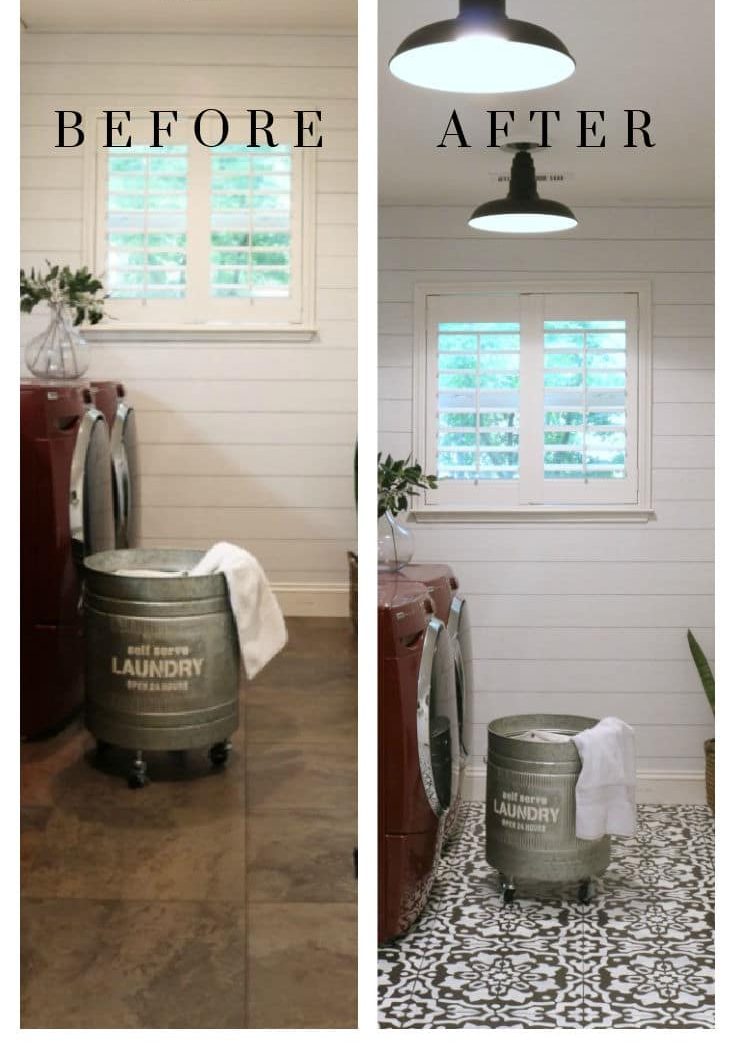
- I stenciled the tile floors 4 years ago.
- Sealed floors with 2 coats of polyurethane sealer
- Didn’t touch up the floor until this past weekend.
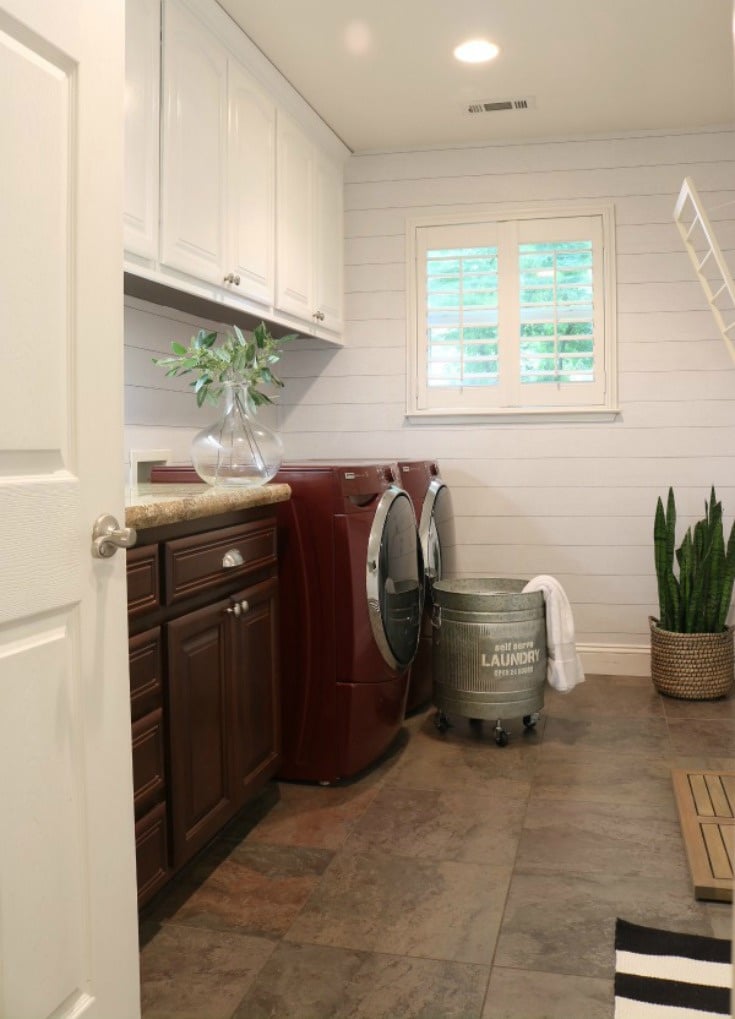
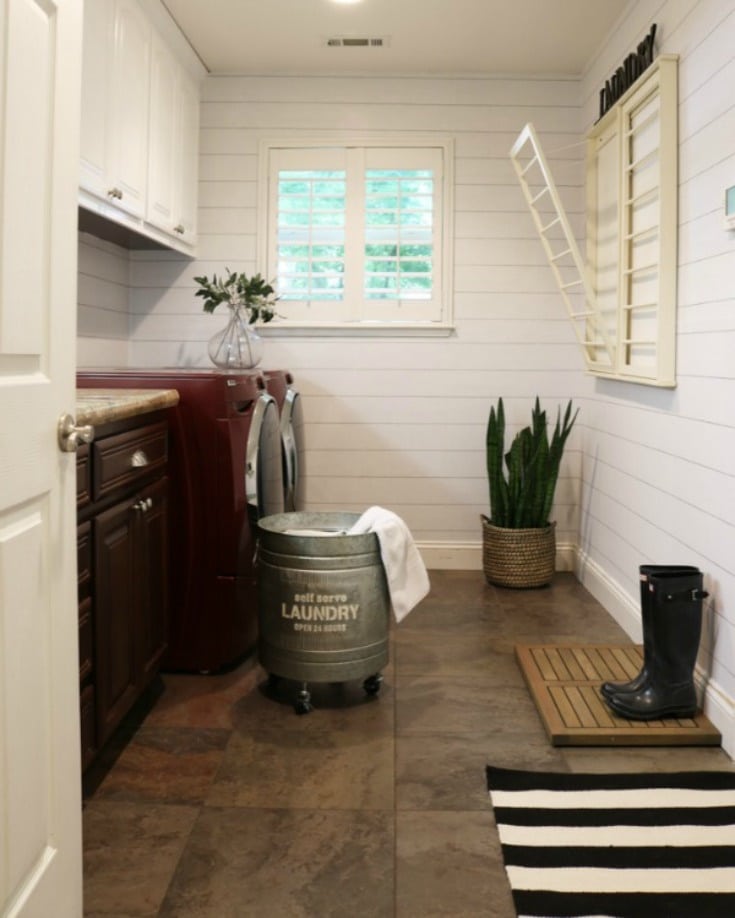
The laundry room floor gets the highest amount of foot traffic of our entire house because it is the main entrance of our home leading to the garage. We have 2 teenage boys and 2 dogs.
Bottom line: The floor looked amazing with just minimal surface-level scratches. I was truly amazed.
Need any more convincing to try this easy DIY project? We hope this post has served as a good pep talk why you should really give floor stencils a try. Be sure to comment below if you do. We want to hear how it goes.
 More Awesome DIY Projects to Try
Love a good budget-friendly DIY like we do? Check out some of our other favorite DIY projects we know you’ll love.
Happy Stenciling, Friends!


Thanks so much for a great article. I’m interested in exactly how you decided it was time to “touch up” the stenciling, and whether you were actually touching up the stencil paint or refreshing the polyurethane finish. Was the poly scarred so that slight damage occurred with the base and second-layer paint? On thinking the effort over, do you think it would have been possible to use top-quality floor and porch paint and NO poly — with the same minimal need to touch up later? I have read that people prefer that technique sometimes. Any additional thought?
Thanks, Barb
Hi Barb,
It had been 3 years since the initial painting/stenciling and the floor had been heavily used and functioned as the main entrance to our home. During this time it had been scratched during normal wear and tear. Since I was going to be working on the floor and redoing the polyurethane finish which involved extensive cleaning, moving the washer & dryer out of the room, and non-use of the room for at least a day or two it didn’t make any sense to reseal a floor with scratch paint or stencil that showed wear and tear. When the scratches occurred they scratched through not just the poly surface (which is incredibly then and would have gone unnoticed if scratched without doing damage to any other layer) but also the paint layers underneath. Since doing this project I have researched other products and found that there are special floor and porch paints but those are typically main for outdoor porch surfaces. You could try these but it is essential to seal any option with a clear poly coat no matter what paint option you choose. The poly coat on top is not a big deal at all. Every goal goes on incredibly fast and easily. 3 coats are recommended. My only mistake the first time around was only doing 2 coats instead of 3. I might have seen fewer scratches if I had opted for that 3rd coat.
I hope this helps. Good luck with your project.
Jodie