


Table of Contents:
- Step-by-Step How to Paint an Ombre Wall
- Step 1: Select Your Ombre Wall Colors
- Step 2: Gather Your Ombre Wall Supplies
- Step 3: Consider Your Baseboards
- Step 4: Prep
- Step 5: Plan Your Sections
- Step 6: Paint Your First Two Solid Sections with Rollers
- Step 7: Blend Your First Two Colors Together
- Step 8: Repeat Steps 6 & 7 Until All Colors Are Completed
- Watch this video of painting an ombre wall.
- Tips for Blending Your Ombre Wall
- Step 9: Paint the Edges of your Ombre Wall
- Commonly Asked Questions
- 1. How long does it take to paint an ombre wall compared to regular painting?
- 2. What if I don’t like how it looks in a section?
- 3. How much paint do I need?
- 4. How many colors should I use for an ombre wall?
- 5. Should I start at the top or the bottom to paint an ombre wall?
- 6. Does this work with any type of paint? Is there a type of paint I should avoid for this project?
- It’s Time to Start Painting
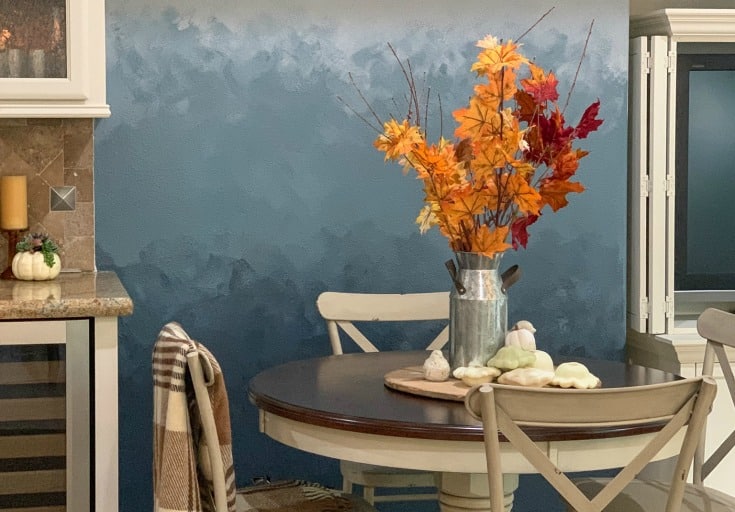
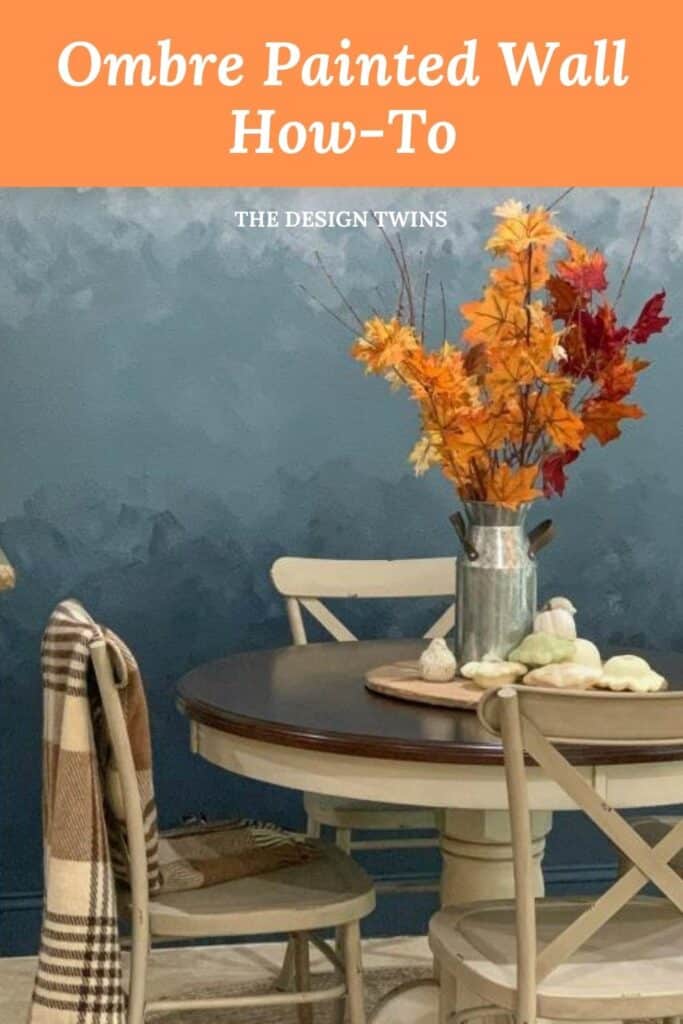
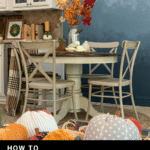
Fast & Easy DIY Project: How to Create a Fabulous Ombre Wall
Get ready for this easy step-by-step guide to creating a stunning painted ombre wall. We answer all your questions to create a DIY masterpiece in an afternoon! Let’s jump right in.
- Want to create a show-stopping designer look?
- Want a project that costs next to nothing?
- How about a project that you can complete in an afternoon?
- Think it sounds too good to be true? Think again.
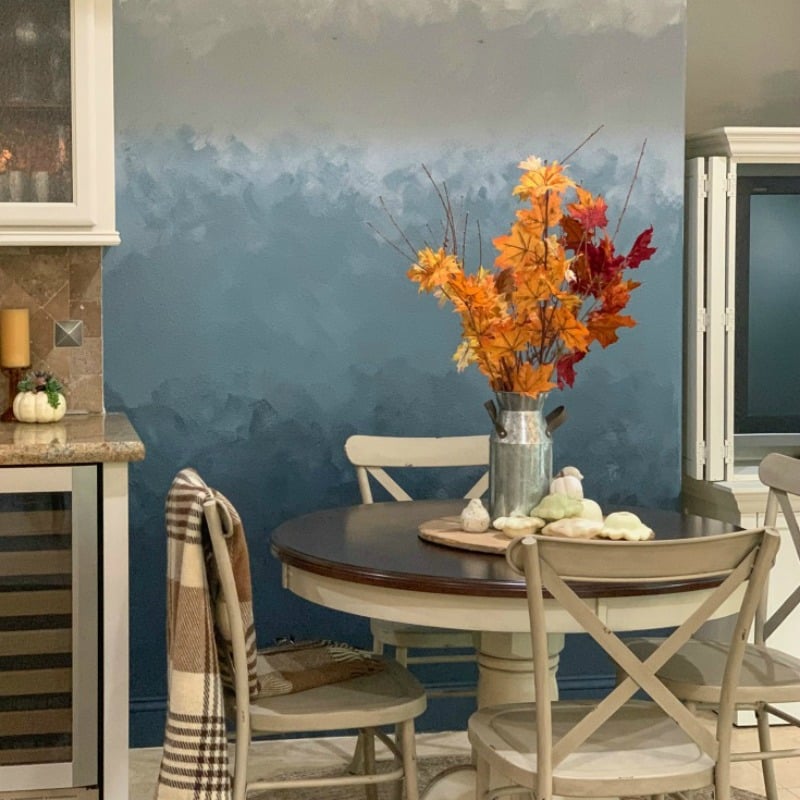
The show-stopping, conversation-starting designer painted ombre wall is much easier to create than you think.
At the end of this post you’ll be ready and excited to pick up your paint brush and get started creating a one-of-a-kind feature wall.

Step-by-Step How to Paint an Ombre Wall
You know how much we believe in the power of paint. Here is another great example.
This project was so fun. To be completely honest, it was a little scary, but with our help you won’t be scared at all.
Want to know the main emotion you’ll feel? You will feel empowered. You will feel artistic. This project is not a lot of work for a lot of reward, trust us.
Step 1: Select Your Ombre Wall Colors
We recommend choosing several shades of paint in the same color family in varying degrees of darkness or intensity from dark to light.
We suggest using three to five colors, but the number of colors you choose is also up to your discretion. I chose four shades. You can choose three colors if you want or five colors depending on the height of your wall or the look you are going for.
Need help choosing colors? We love this paint selection resource from Fusion Mineral Paint, where you can easily see the colors, by color family, from your computer before you purchase. We love that you can click on each color and see various examples of the color in use!
Step 2: Gather Your Ombre Wall Supplies
All you need is….
- 3-5 paint colors
You can buy small size jars from Fusion Mineral Paint and save 10% with our link.
- Drop cloth

- Painting tape

- A paint brush for every color (regular paint brush)

- Blending paint brush
- The best kind of paint brush for this technique is a “chip” brush that has sturdy, wire-y bristles (normally used for epoxy and oil-based paints). This type of brush with give a wispy look to the finish.

- Paint rollers for each color

- A paint tray for each color
(We recommend the set above. Each set comes with its own roller, refills and tray.)
Step 3: Consider Your Baseboards
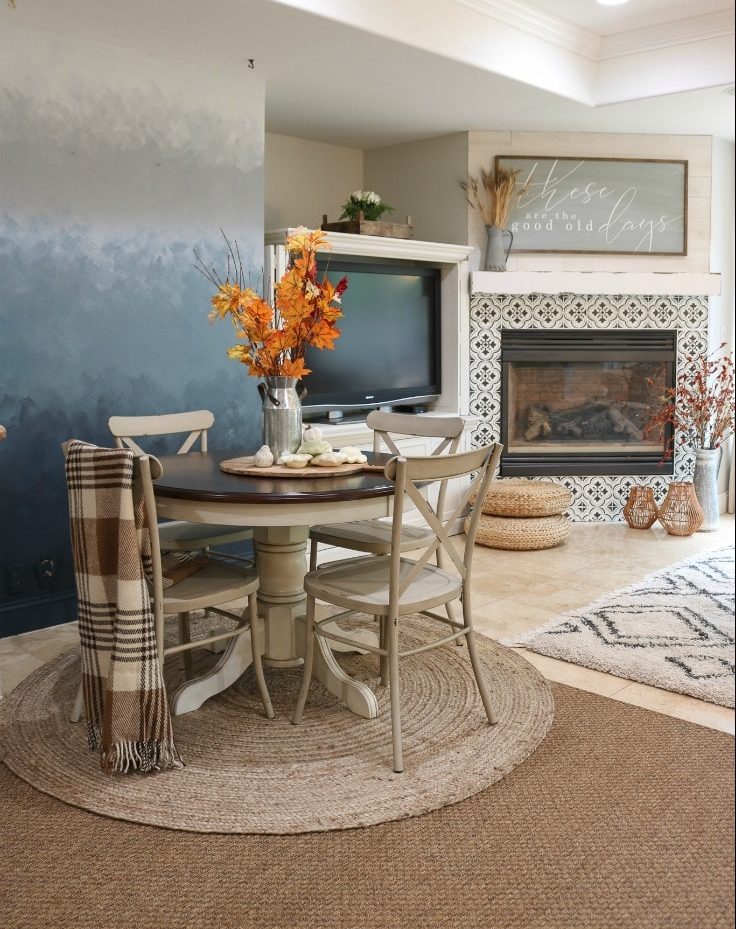
I normally tape off baseboards and keep them white. However, for this look I wanted the baseboard to blend into the look of the wall, so I painted it the bottom or base color. I love the way it turned out. This is something you may want to consider.
Having trouble deciding? Tape it off and wait until after you paint the wall. You can decide later if you want to paint it or not.
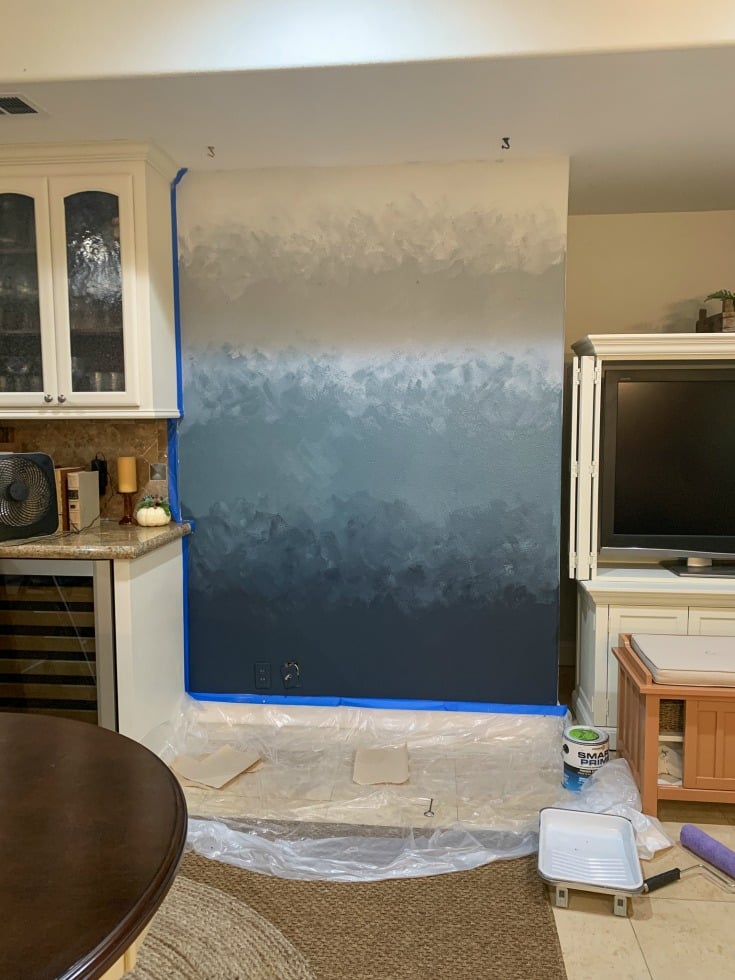
Step 4: Prep
- Tape off and cover your surfaces to protect surrounding areas from paint.
- This project is a little bit messier than regular painting projects, so take some extra precaution on this step.
Step 5: Plan Your Sections
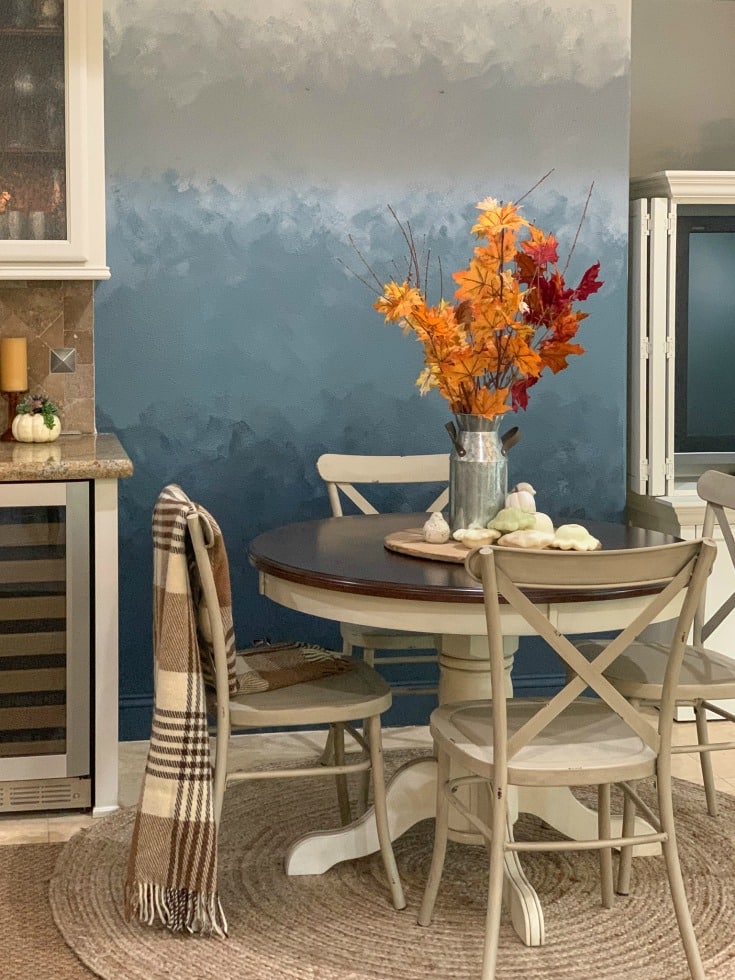
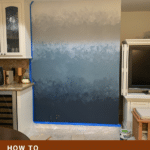
Your goal: To paint four sections of your wall with four different colors starting with the darkest at the bottom and gradually getting lighter towards the top.
- Divide the sections of the wall generally into even sections.
- This doesn’t have to be exact. Remember this is art. It doesn’t need to be perfect.
- You want to paint each section leaving space in between, and then you will blend the paint colors together in between.
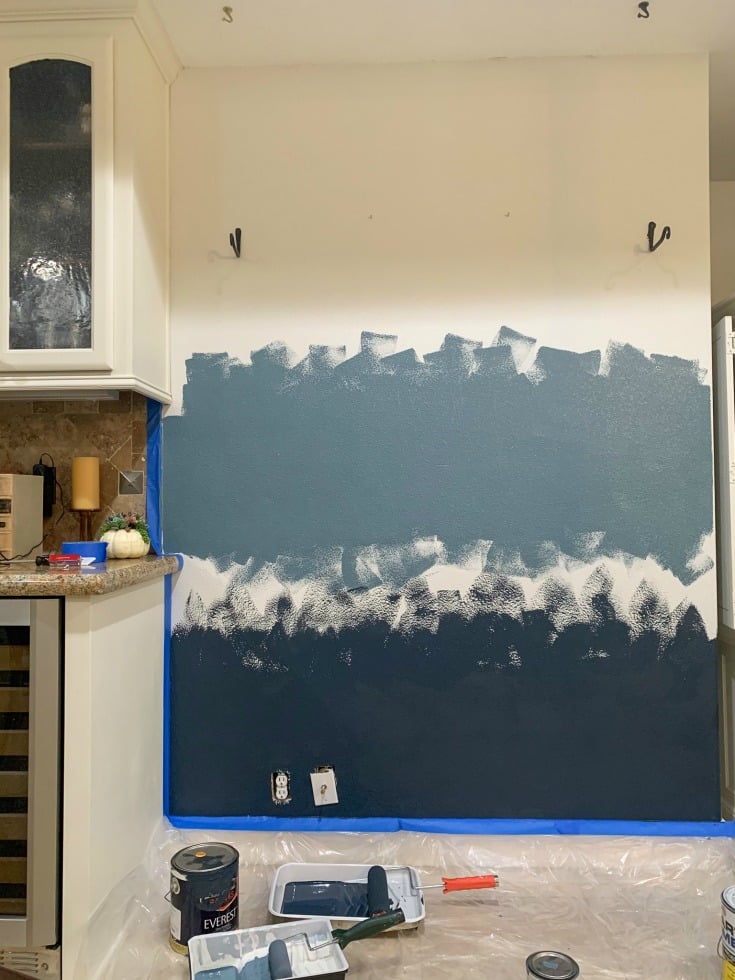
Step 6: Paint Your First Two Solid Sections with Rollers
- Start from the bottom of your wall in a small section about 2-3 feet wide with your darkest color.
- Using your roller paint a band of color a couple feet wide (or however wide your space is depending on the height of your ceilings).
- Next, use another roller to paint the next color above it on the wall leaving some space between.
- Paint a similar band of paint in a similar small section of wall.
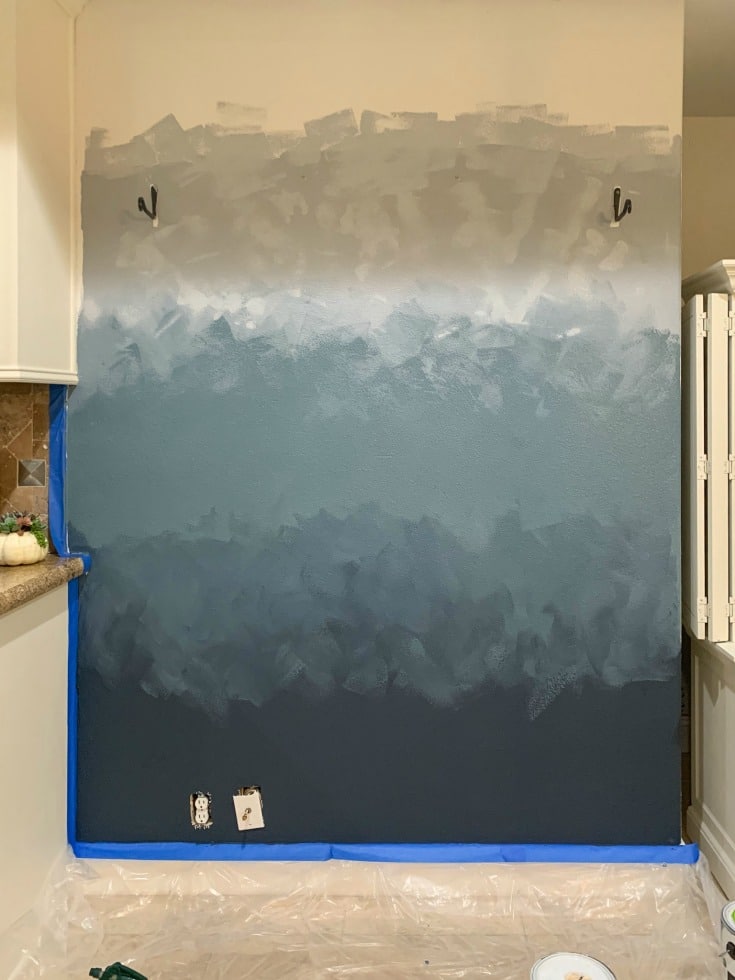
Step 7: Blend Your First Two Colors Together
- While the paints are still wet go back with a large wide bristle brush and blend the two paint colors together using hash strokes.
- Try to keep the strokes uneven and haphazard so that the blending takes on an abstract look.
Step 8: Repeat Steps 6 & 7 Until All Colors Are Completed
- Now proceed to the third color above continuing to work in the same manner.
Watch this video of painting an ombre wall.
Tips for Blending Your Ombre Wall
- If the paint dries in one section, you can add a small bit of water and spray it on the brush.
- Do this sparingly or you may find that your paint begins to drip.
- You can also try adding a bit more wet paint to help with the blending.
- Remember, there is no right or wrong way to do this.
- Experiment and see what works for you.
- Move on to the next section of the wall and repeat bit by bit.
- It’s best to work in sections because you want to be able to work with wet paint when blending the sections.
- The wetter the paint, the easier it is to blend the paint colors.
Step 9: Paint the Edges of your Ombre Wall
- You can wait until the end to go back and paint the edges of the wall and the ceiling.
- You may find that you need to mix the paint slightly to get the colors to match the blended areas, but I didn’t find this too hard.
Commonly Asked Questions
1. How long does it take to paint an ombre wall compared to regular painting?
I would say it probably takes about twice as long. Most of the increased time is spent in rinsing and switching brushes.
2. What if I don’t like how it looks in a section?
Once you finish if you decide you don’t like any section it’s easy to just paint over. Layering paint is one of the easiest solutions. Think of this as an art canvas.
3. How much paint do I need?
It depends on the size of your wall. For most walls, a pint of paint per color should probably be enough.
4. How many colors should I use for an ombre wall?
This is totally up to you. You can use any number of colors, from 2 – 5. It depends on the look you’re wanting and the size of the wall.
5. Should I start at the top or the bottom to paint an ombre wall?
I started at the bottom. I think it is easier to start on the ground than up on a ladder when first starting the technique.
6. Does this work with any type of paint? Is there a type of paint I should avoid for this project?
I think any paint that you would normally use to paint a wall should work for this type of project. You can use any sheen of paint as well and it should work. Think of this project as more of an art wall. There really aren’t rules. It is more of a free-form project. This is why it is so empowering and fun.
I personally love painting with mineral paint. It goes on smoother and more easily. There are no fumes. It’s just overall a better painting experience. Plus the results I think are better than latex paints. For this project I simply used cans of leftover paint I had in the garage, and that works too. But since then I have fallen in love with mineral paint, and I won’t go back.
Save 10% by shopping here with Fusion Mineral Paints. Use the link or use our savings code JODIEKAMMERER.
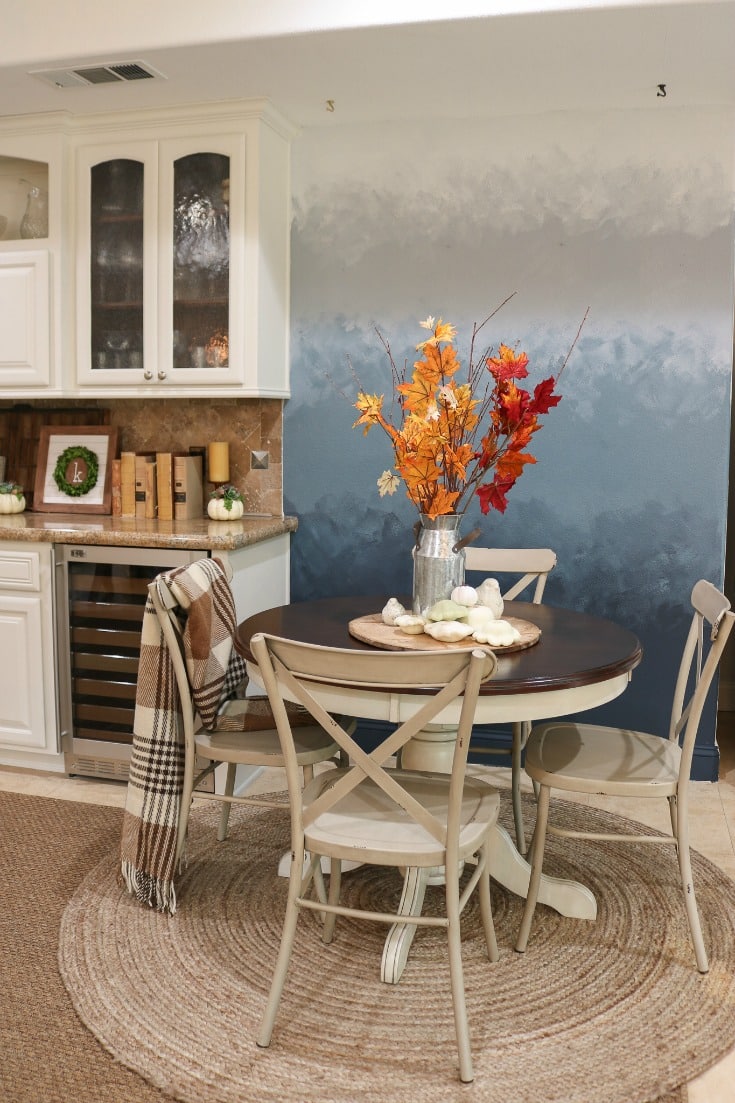
It’s Time to Start Painting
Now that you’ve got the how-to steps and all our tips, you are well-armed to tackle your ombre wall project.
This project allows your inner artist to express herself. Don’t be intimidated by this project. And don’t overthink it. My best advice is just to jump right in. It’s easier to do than you think and doesn’t take much planning or skill.
Remember, it’s just paint. If you don’t like it, you can always paint over it. I think you’ll be pleasantly surprised and delighted by the results. You don’t have to be an artist to feel like one.
And when you’re done with this DIY painting project check out some of our other budget-friendly DIY projects!
Ready to continue with other painting projects? We’ve done it all, from chalk painting 101, to stencils to advanced chalk painting, to kitchen cabinet painting, door painting, and pro tips.
Is it that obvious that we’re obsessed with paint? Okay we’ll admit it. But that’s because it puts the power of easy, affordable home transformation in your hands. No wonder we’re obsessed.
Happy Painting!


It is beautiful. What paint colors did you use?
Kelly, I don’t even know what colors I used. I literally grabbed 4 cans of leftover paint I had in my garage. When I saw how close the colors were it gave me the idea to do this project. I finished the leftover paint and no longer have the names of the colors I used. Sorry about that. I recommend going to the paint store and choosing 3-5 colors close to each other on the paint wheel or paint card. Thanks for reading our blog. XO ~ Jodie
Awesome! What a fabulous pictures. I like your fast painting ideas and thoughts. Professionally i am also decor designer and your ideas will helpful to me in future. Thank you sharing interesting post.
We’re so glad you enjoyed this post. We have lots of painting posts that we also hope you will enjoy. Also, stay tuned for lots more painting posts to come. XO ~ Jodie & Julie